Quickstart
Connect a local agent, describe which calls need your approval, and decide your first request.
The guided setup connects your local agents to withHuman, configures how approval requests reach you, and lets you describe in your own words which calls need human review. This guide explains each setup page and the choices it offers.
The screenshots show an example using Claude Code. Your setup can use any of the supported agents detected on your machine.
Before you start
You'll need a Mac or Linux machine with a supported agent installed and working, plus a terminal on that machine. Keep the browser open while you work through setup.
Create a withHuman account, then open the guided setup. If you already have an account, sign in and use that same setup link. You'll need permission to connect agents, configure their rules and review requests; a new organization's owner has this access.
1. Install the CLI
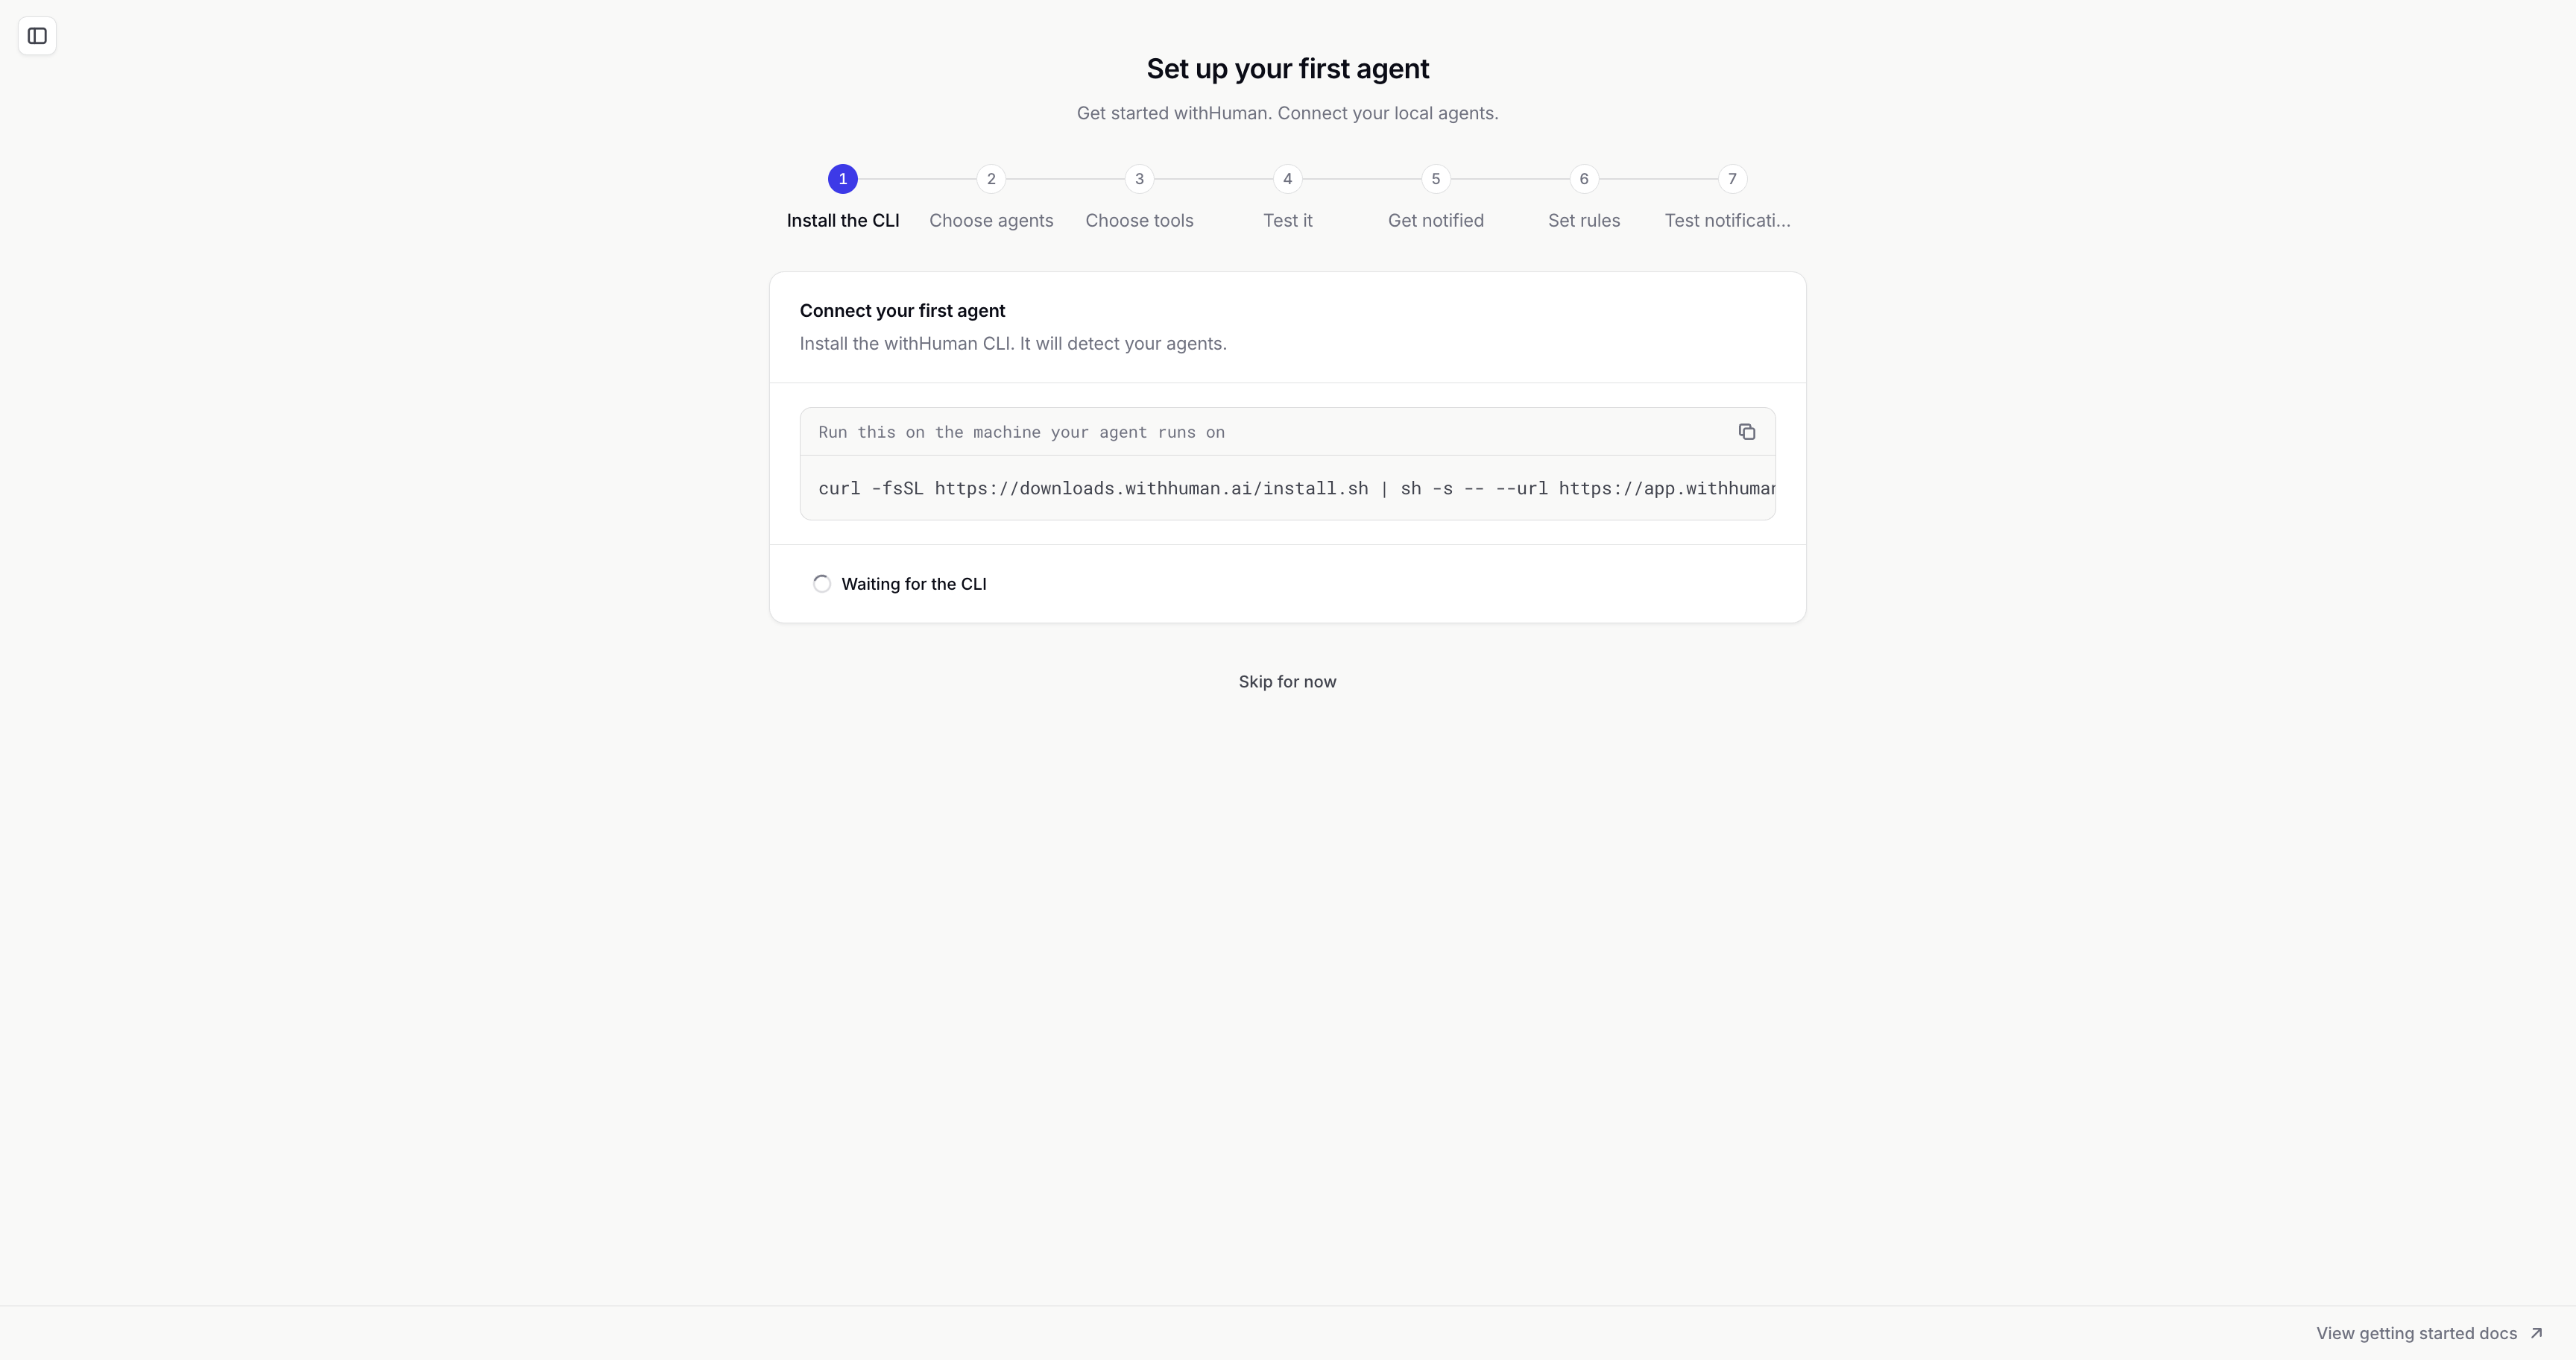
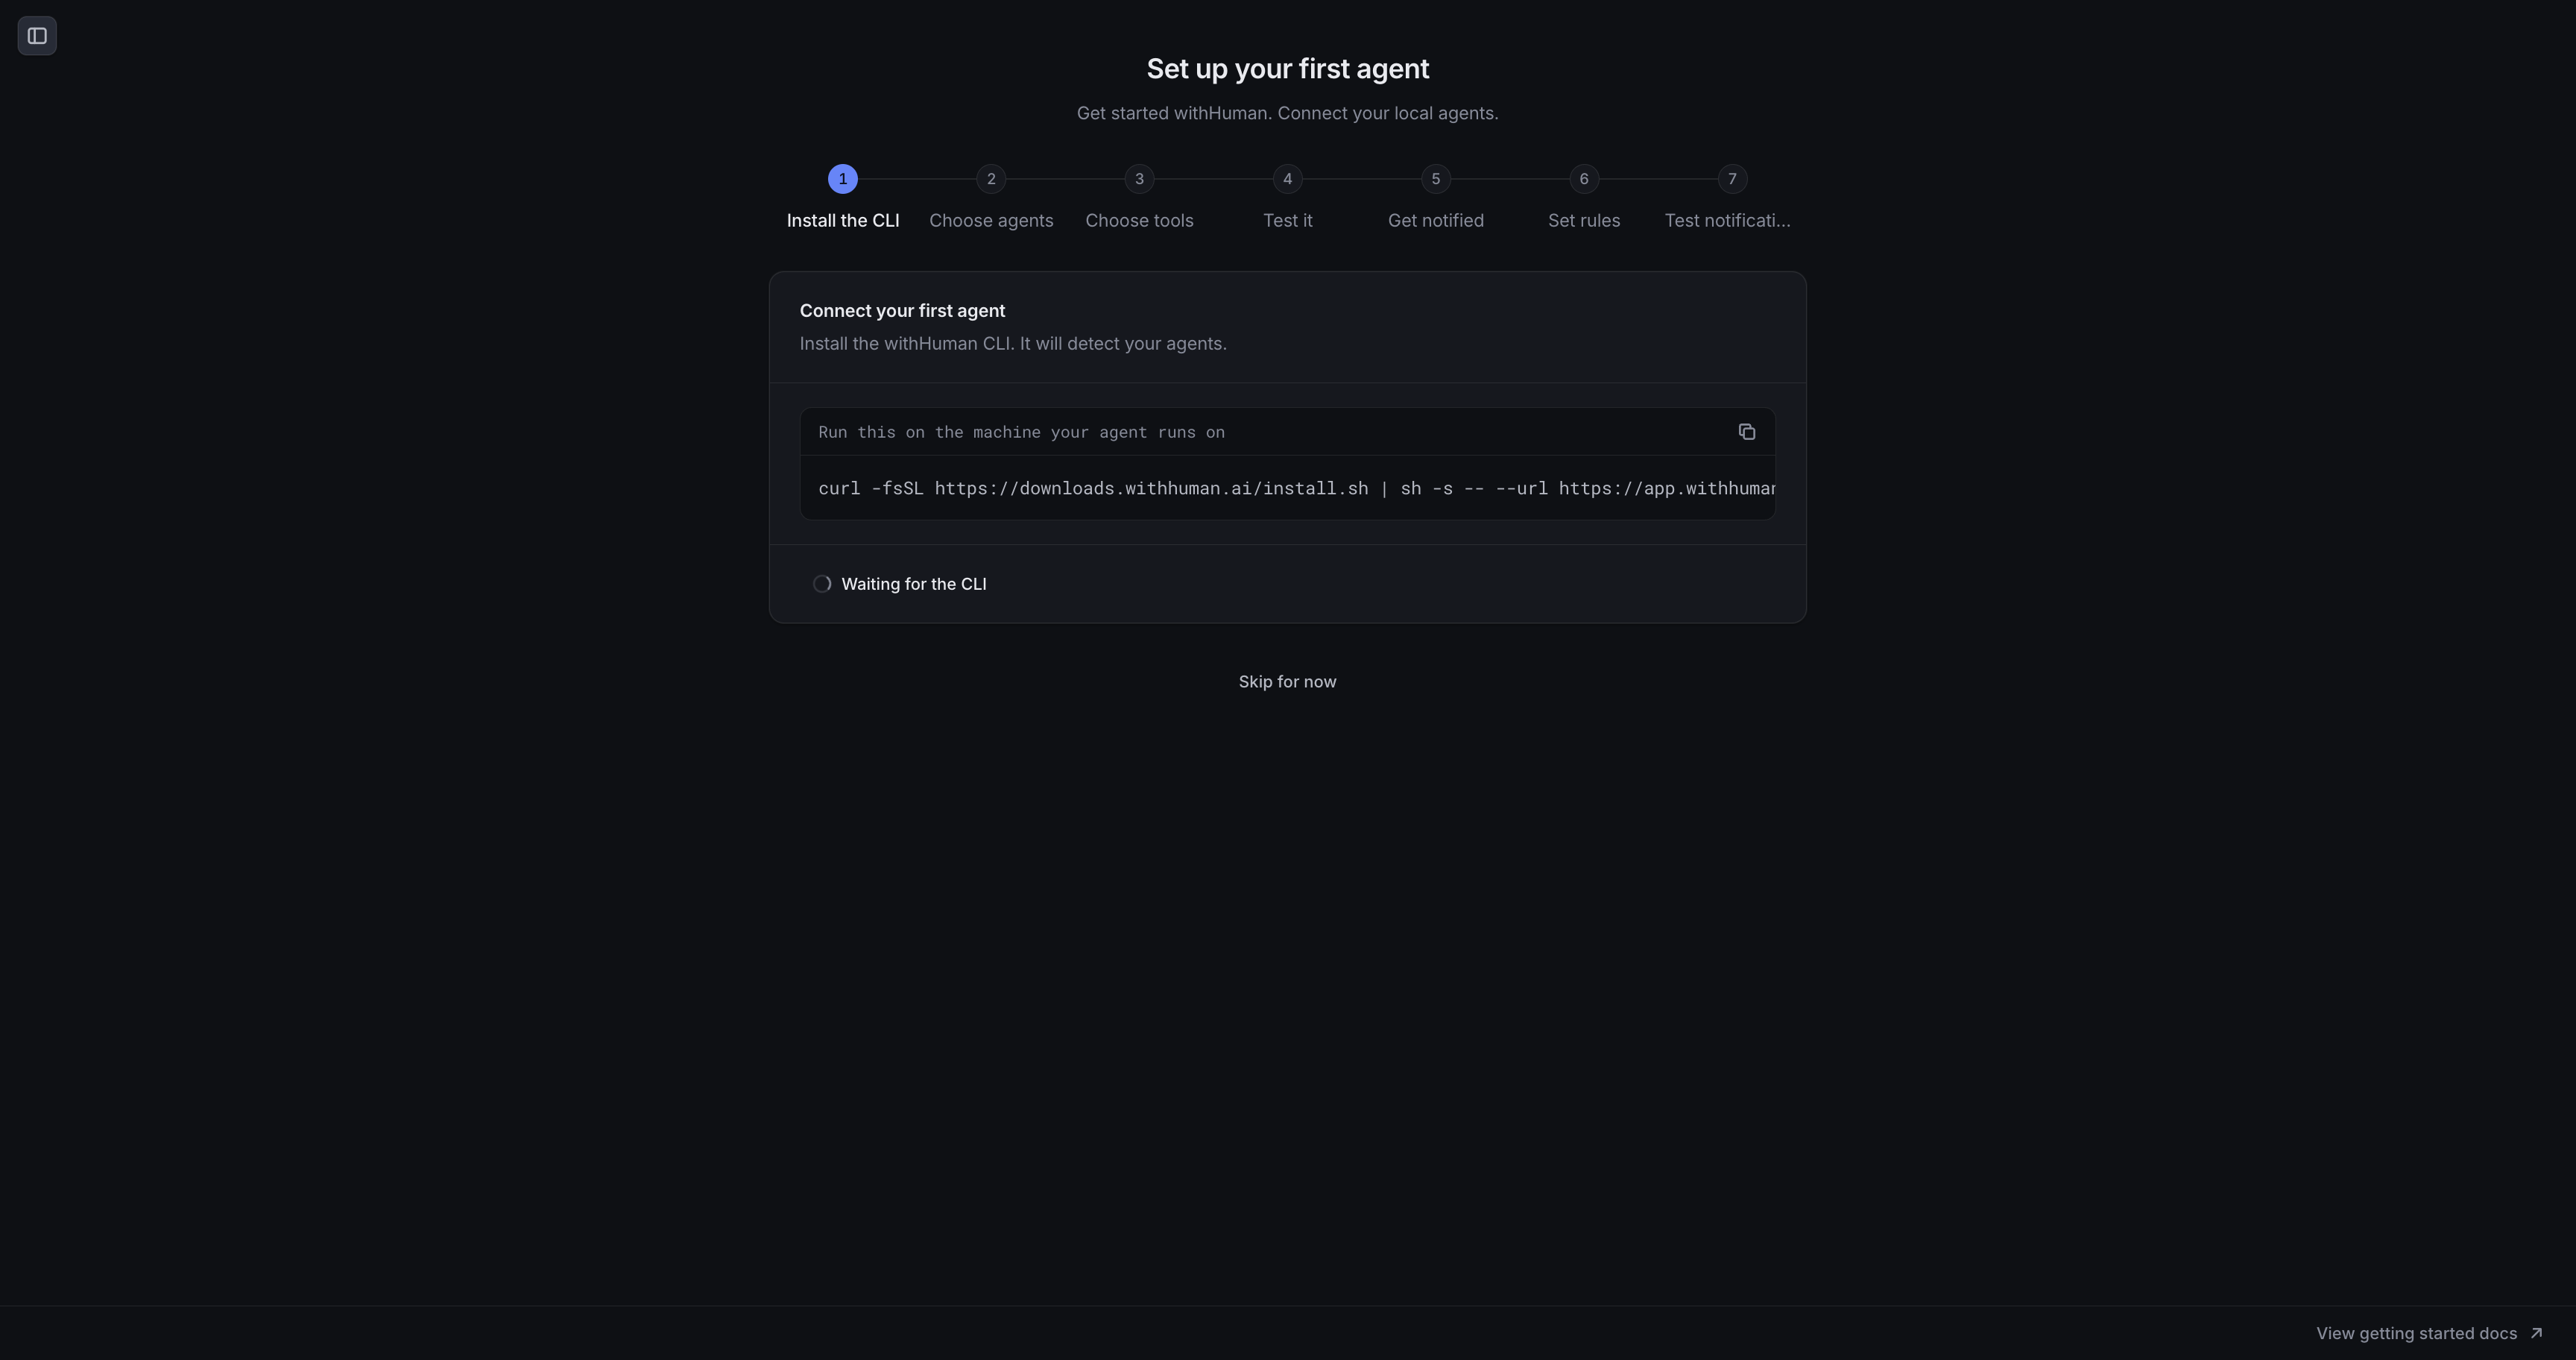
Install the CLI connects the setup page to the machine where your agents run. Copy the command shown on the page and run it in a terminal on that machine. It installs the withHuman CLI and detects your installed agents. The installer may ask for your computer's administrator password.
Use the command from your own setup page, not the one in a screenshot. Each command includes a temporary setup code.
Leave the terminal running. When the CLI has detected your agents, the browser moves to Choose agents.
2. Choose agents
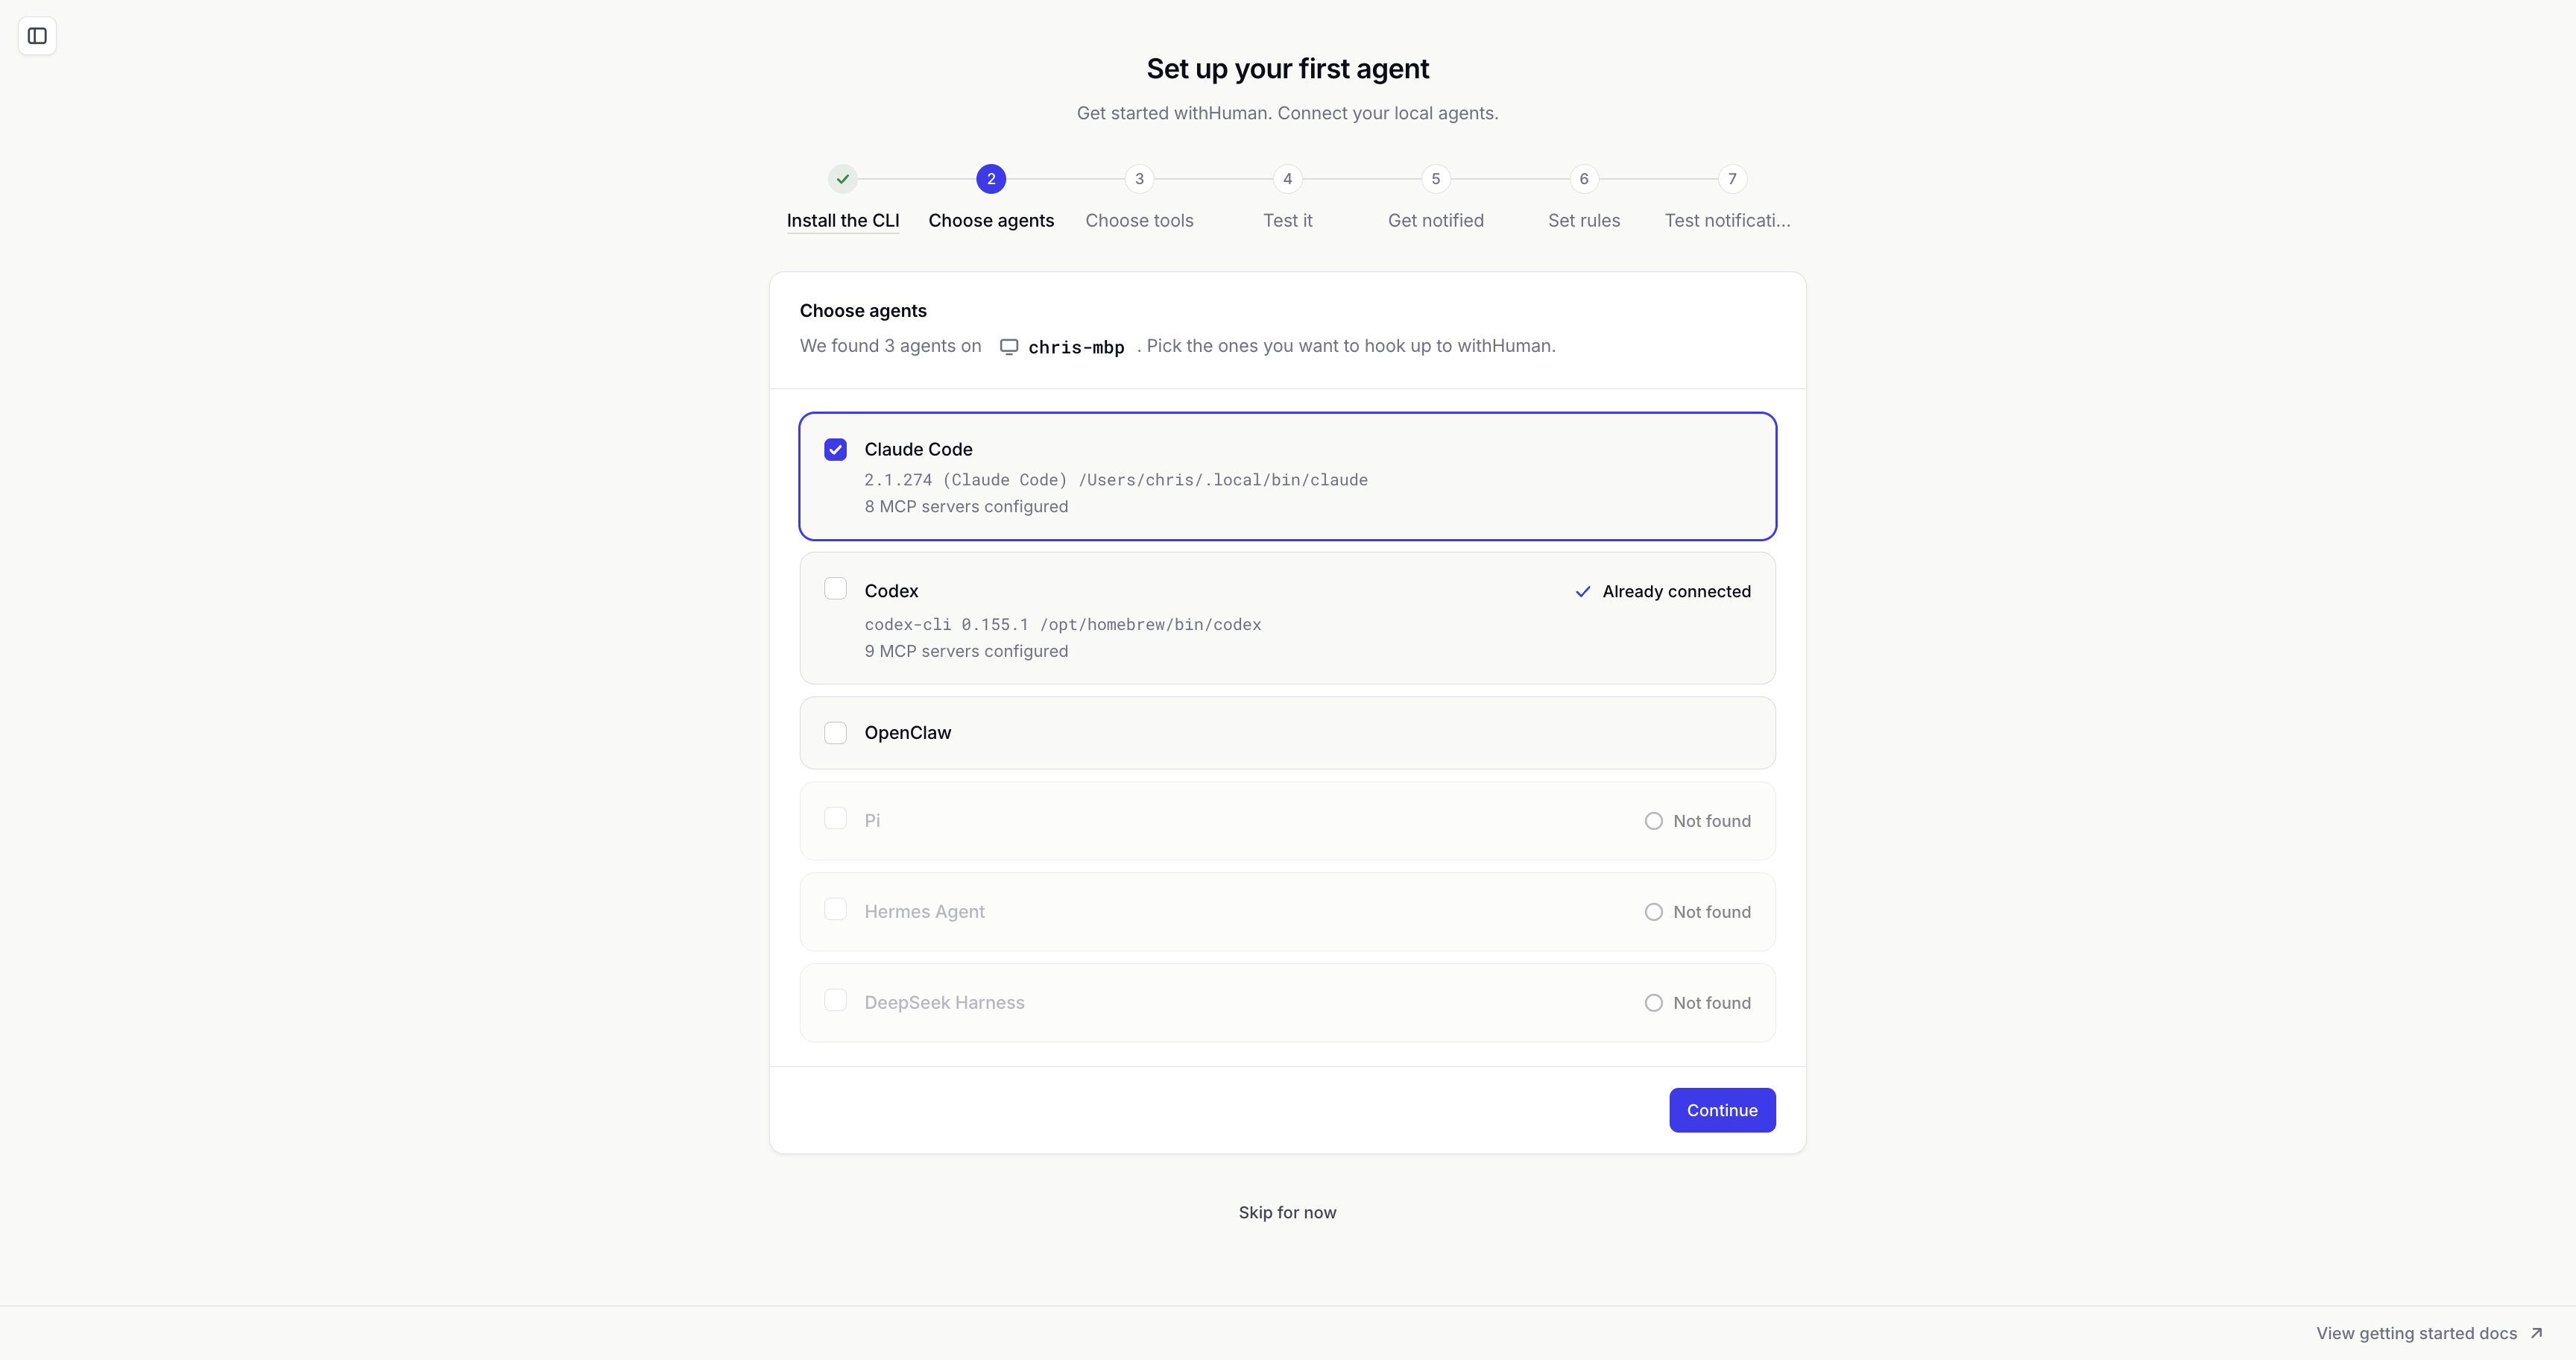
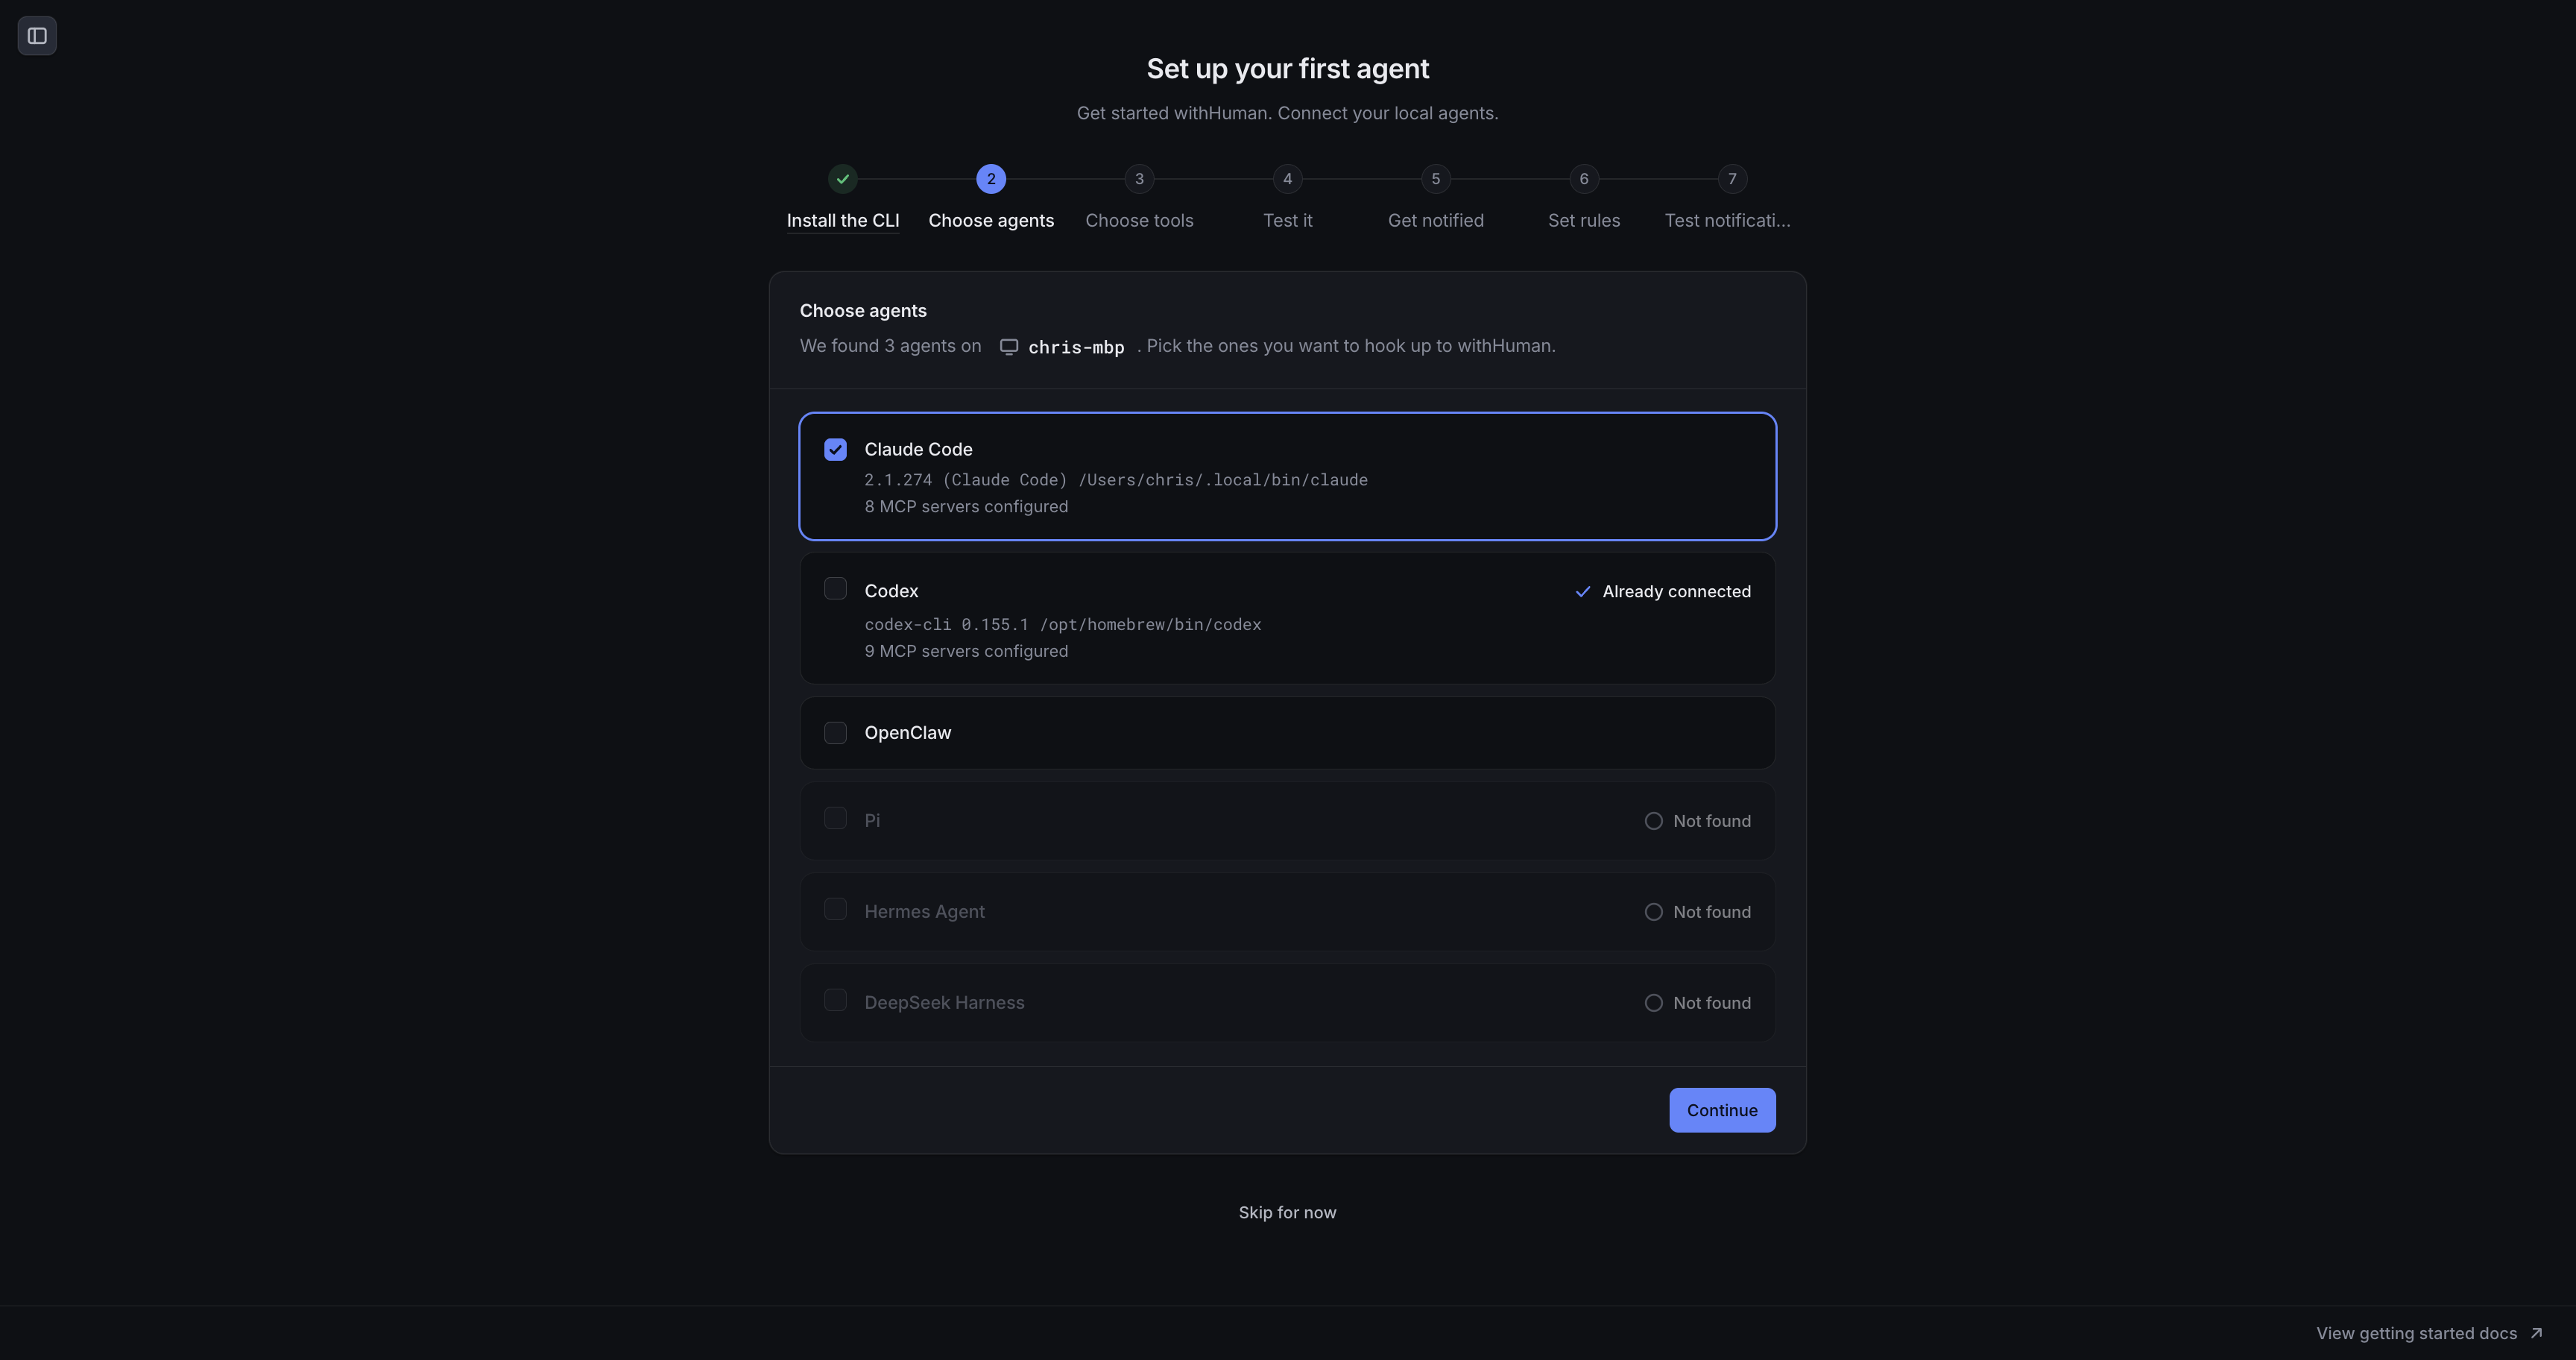
Choose agents lists the supported agents and shows which ones were found on your machine. Select one or more agents you want to connect, then select Continue. Agents marked Not found need to be installed before you can select them.
The CLI then discovers the selected agents' built-in tools and tools from their configured MCP servers while you set up your notifications.
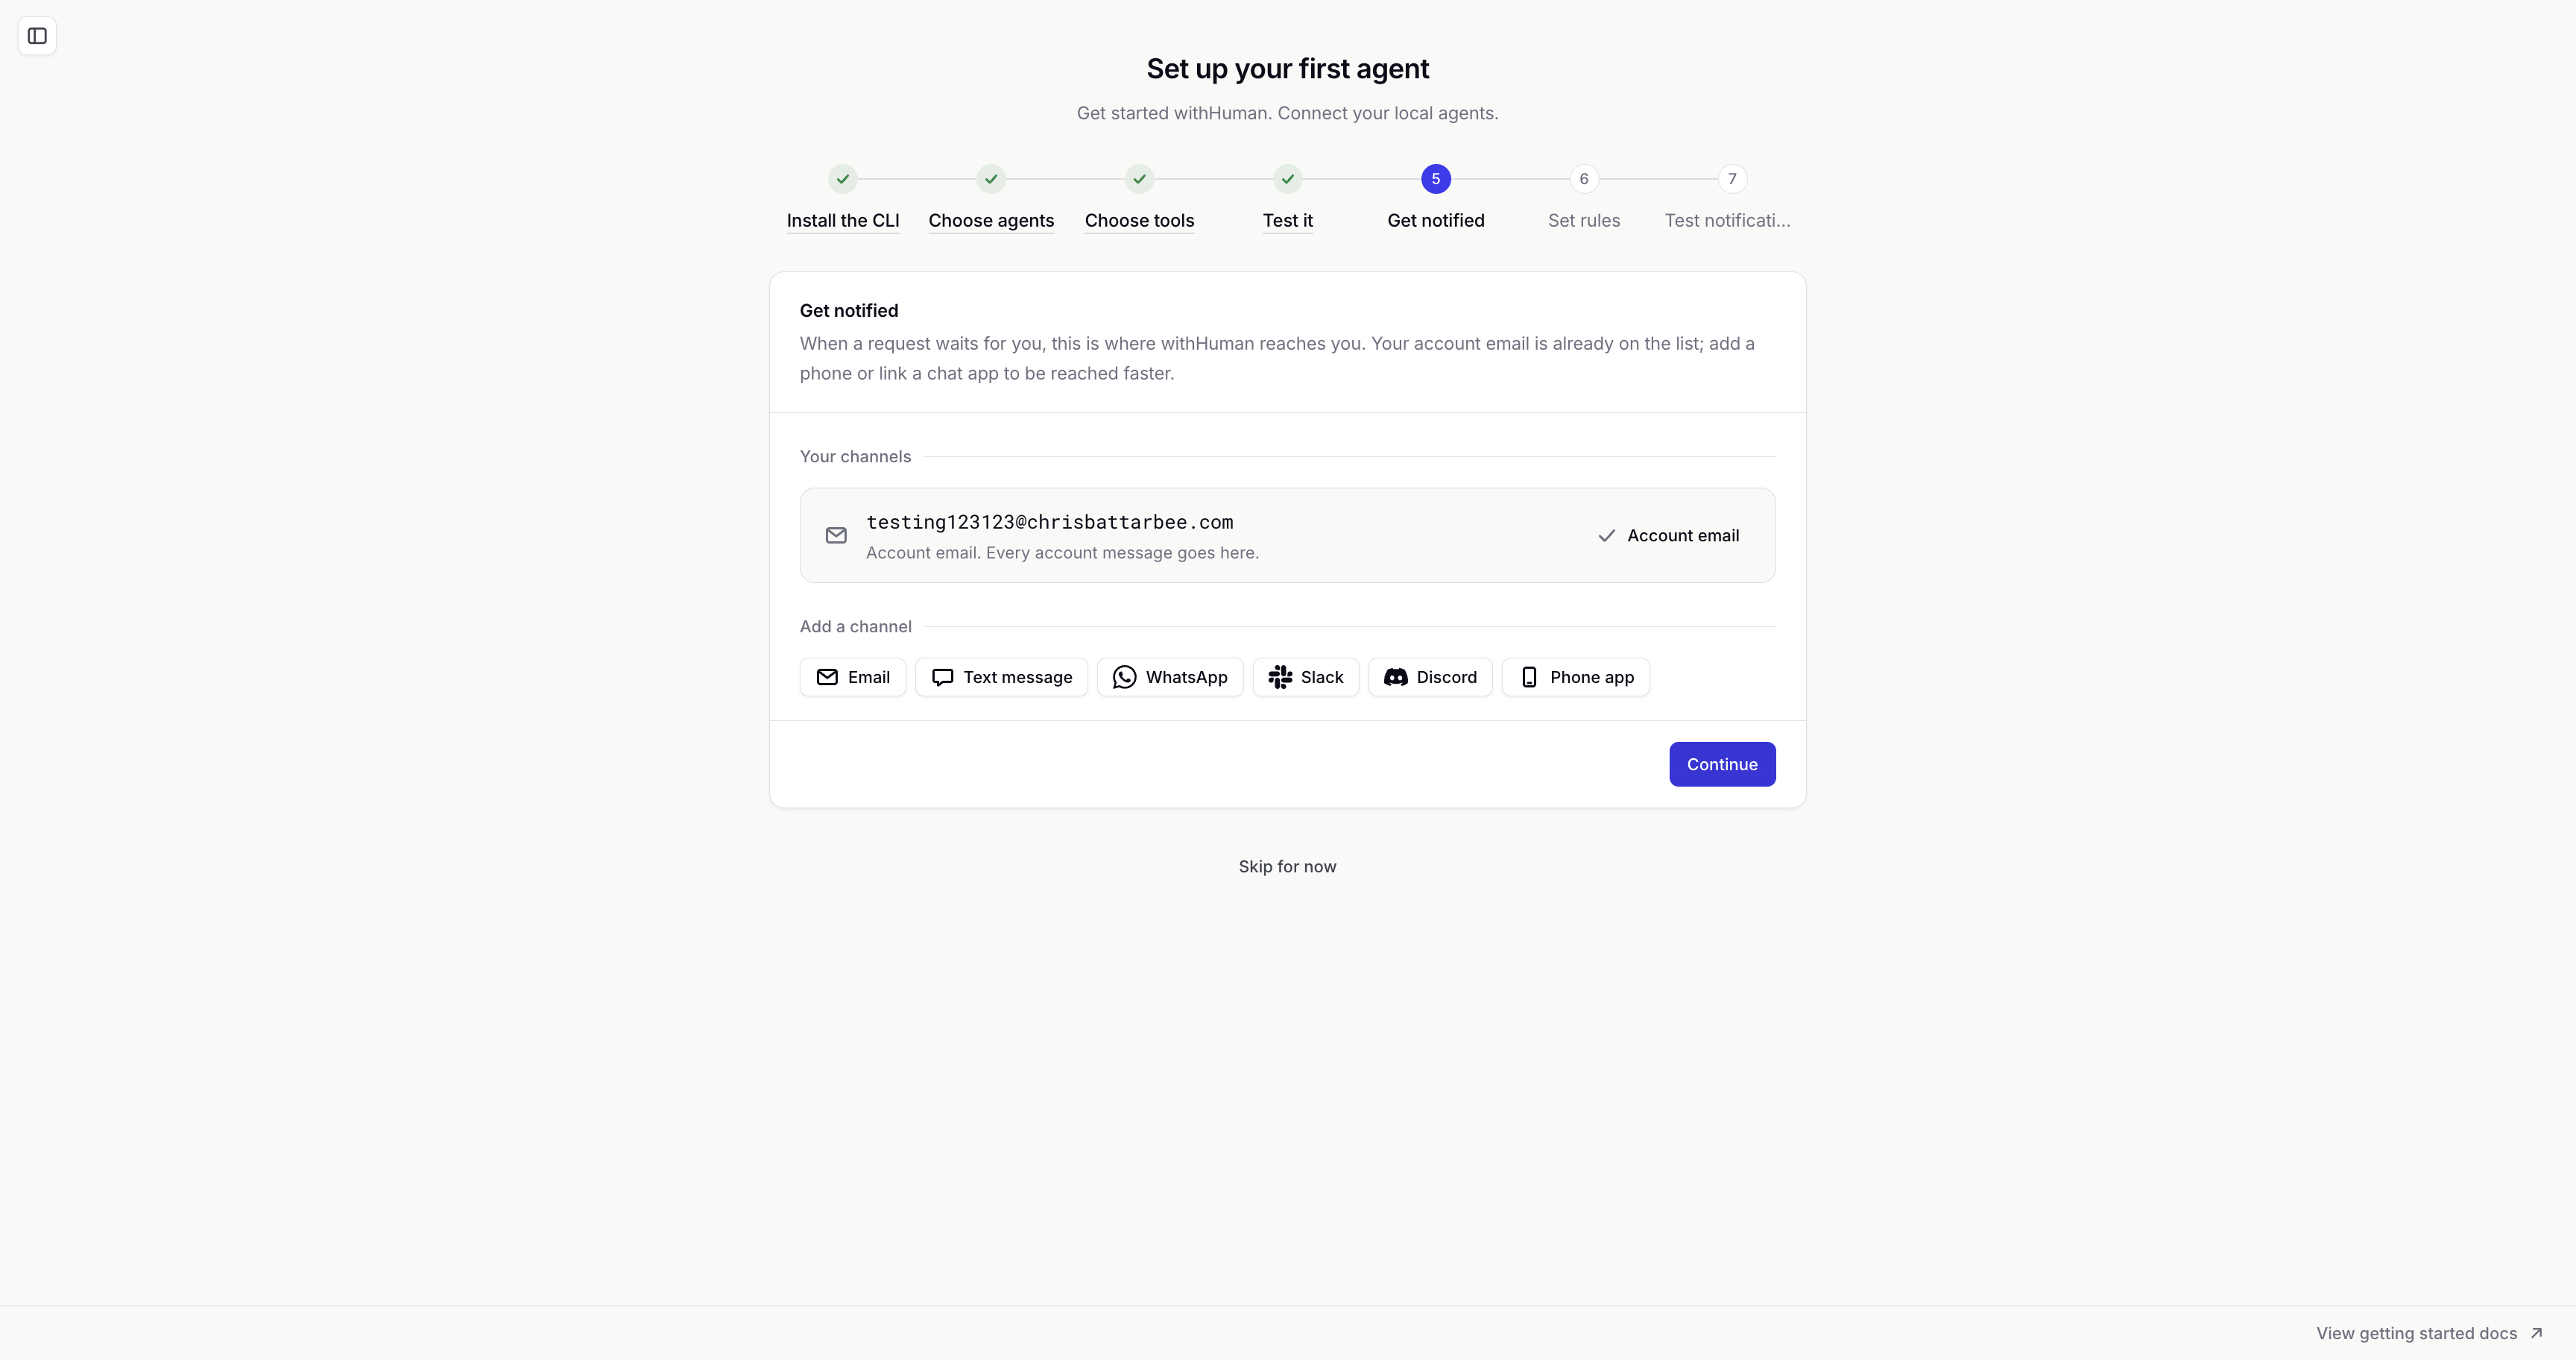
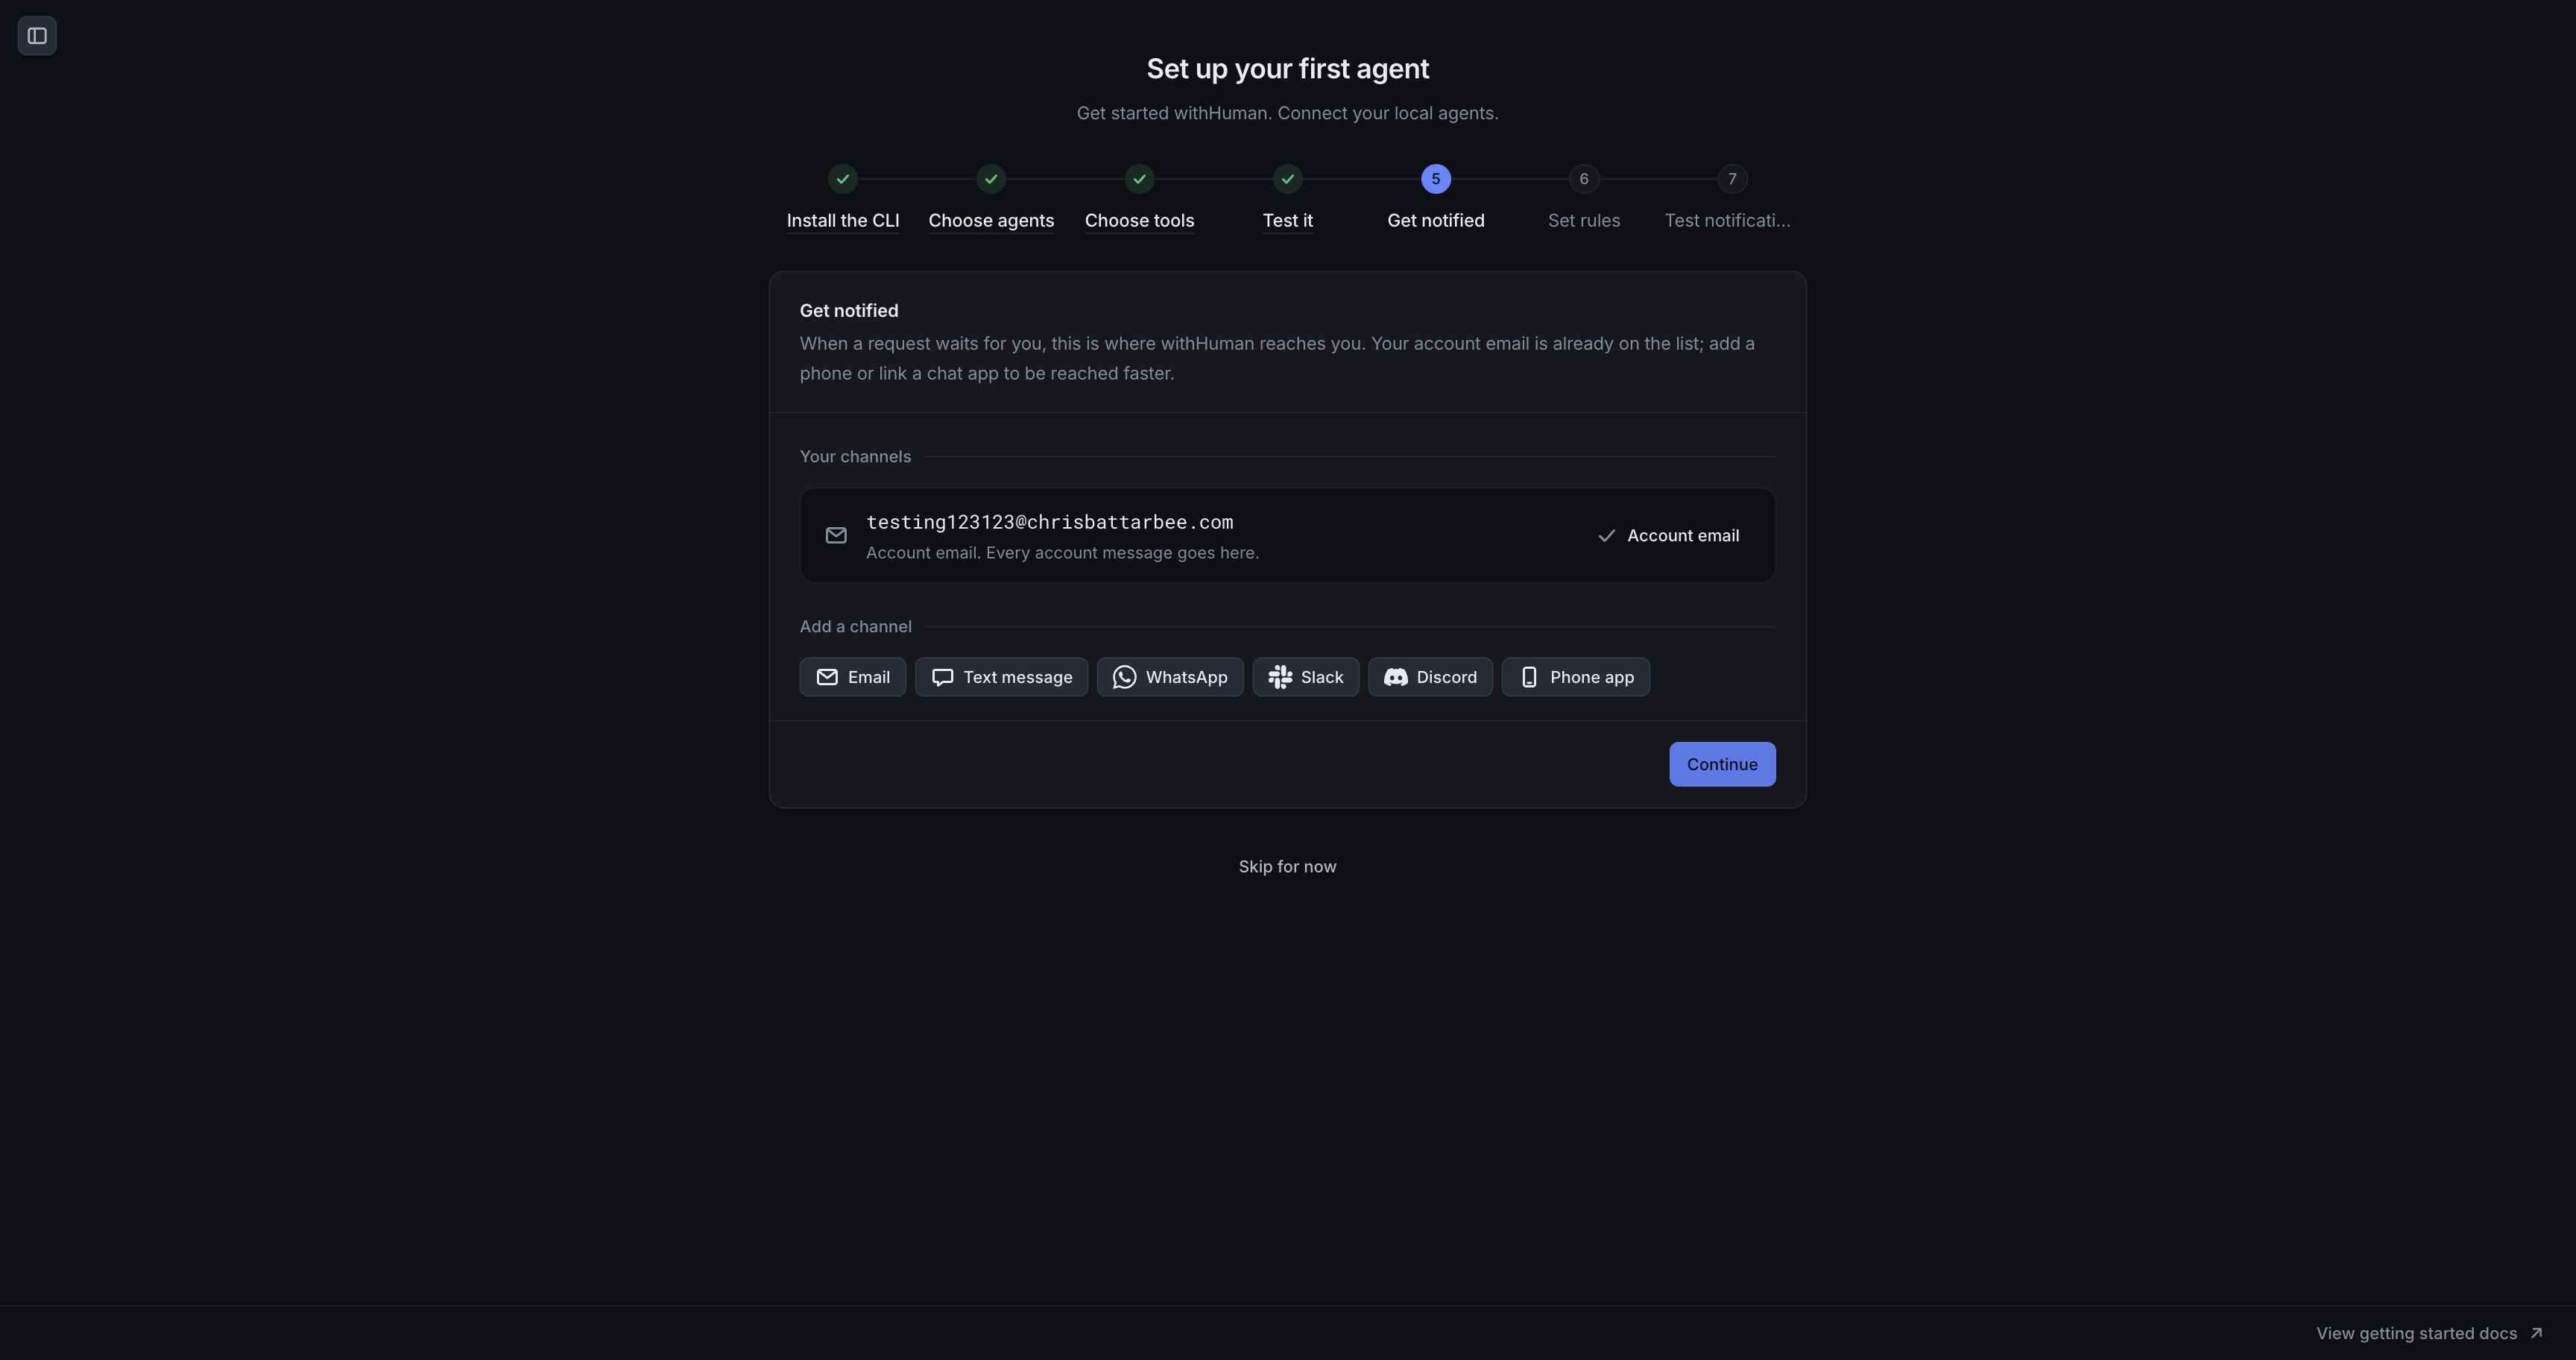
3. Get notified
Get notified is where you choose the ways withHuman can contact you when a request needs your attention. Your channels lists the channels you have connected, including your account email.
Under Add a channel, select the options you want to use:
- Email adds another email address.
- Text message or WhatsApp adds a phone number for that service.
- Slack or Discord links your chat account.
- Phone app shows how to receive notifications through the withHuman app.
Follow each channel's setup and verification instructions. You can connect several channels; available options depend on your deployment and organization connections. Select Continue when your channels are ready.
4. Set rules
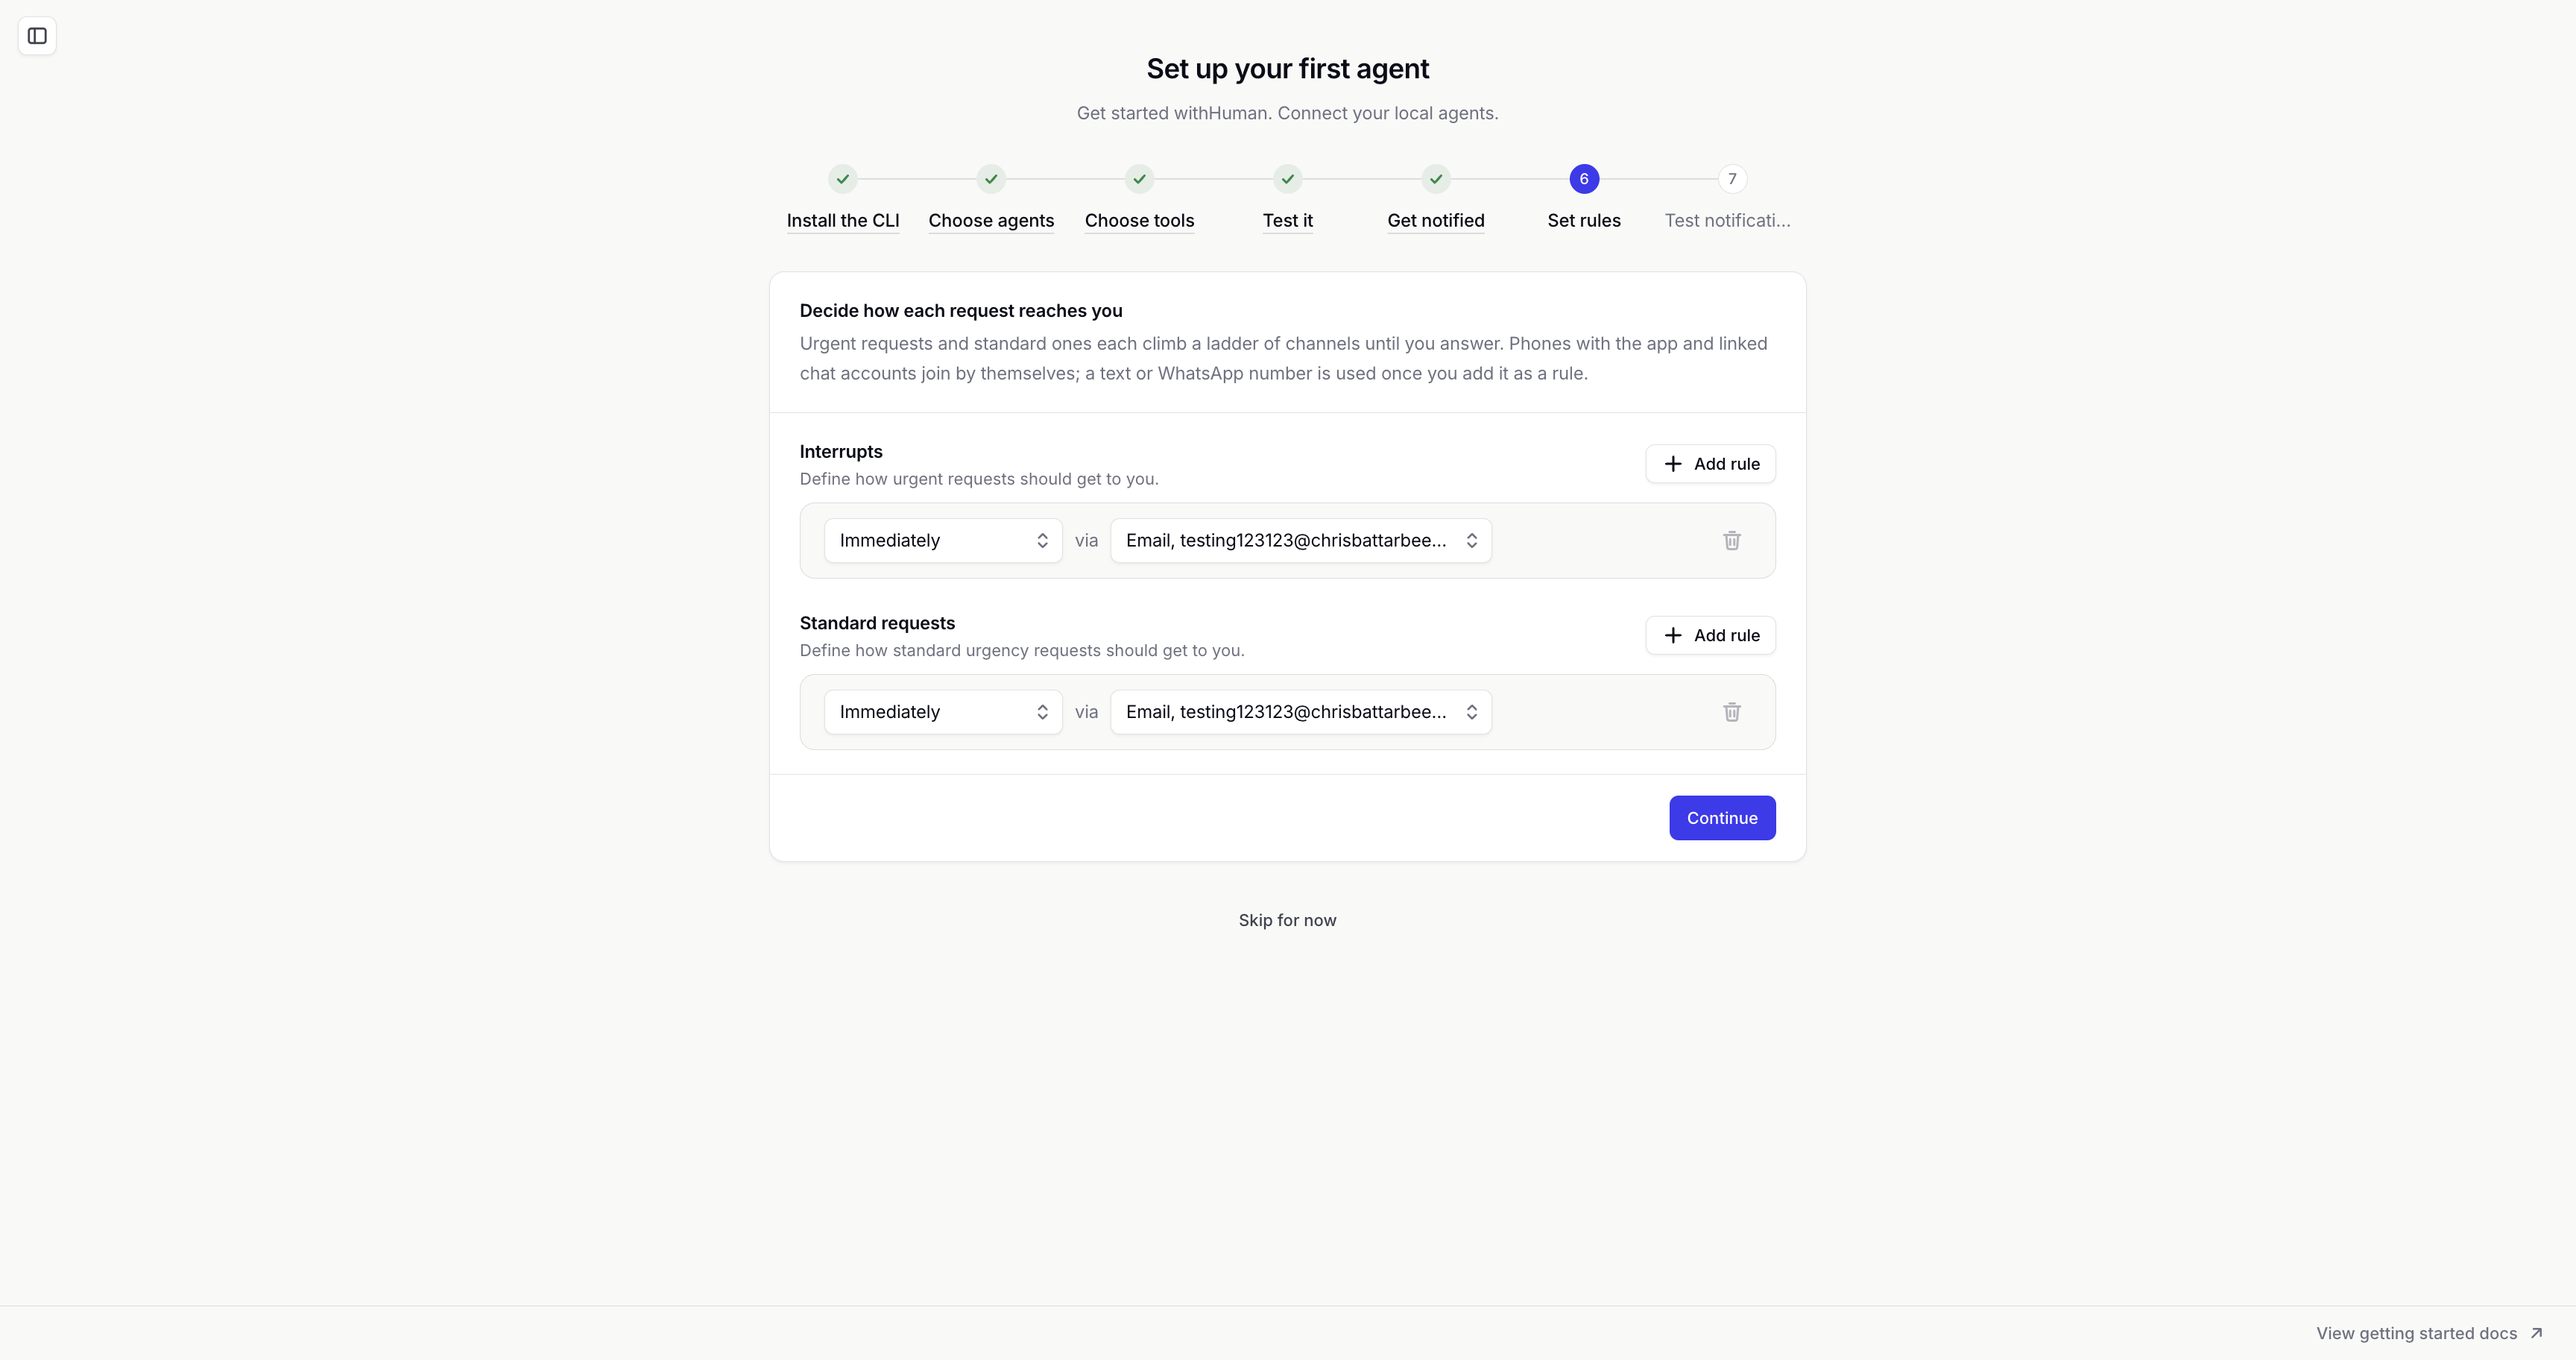
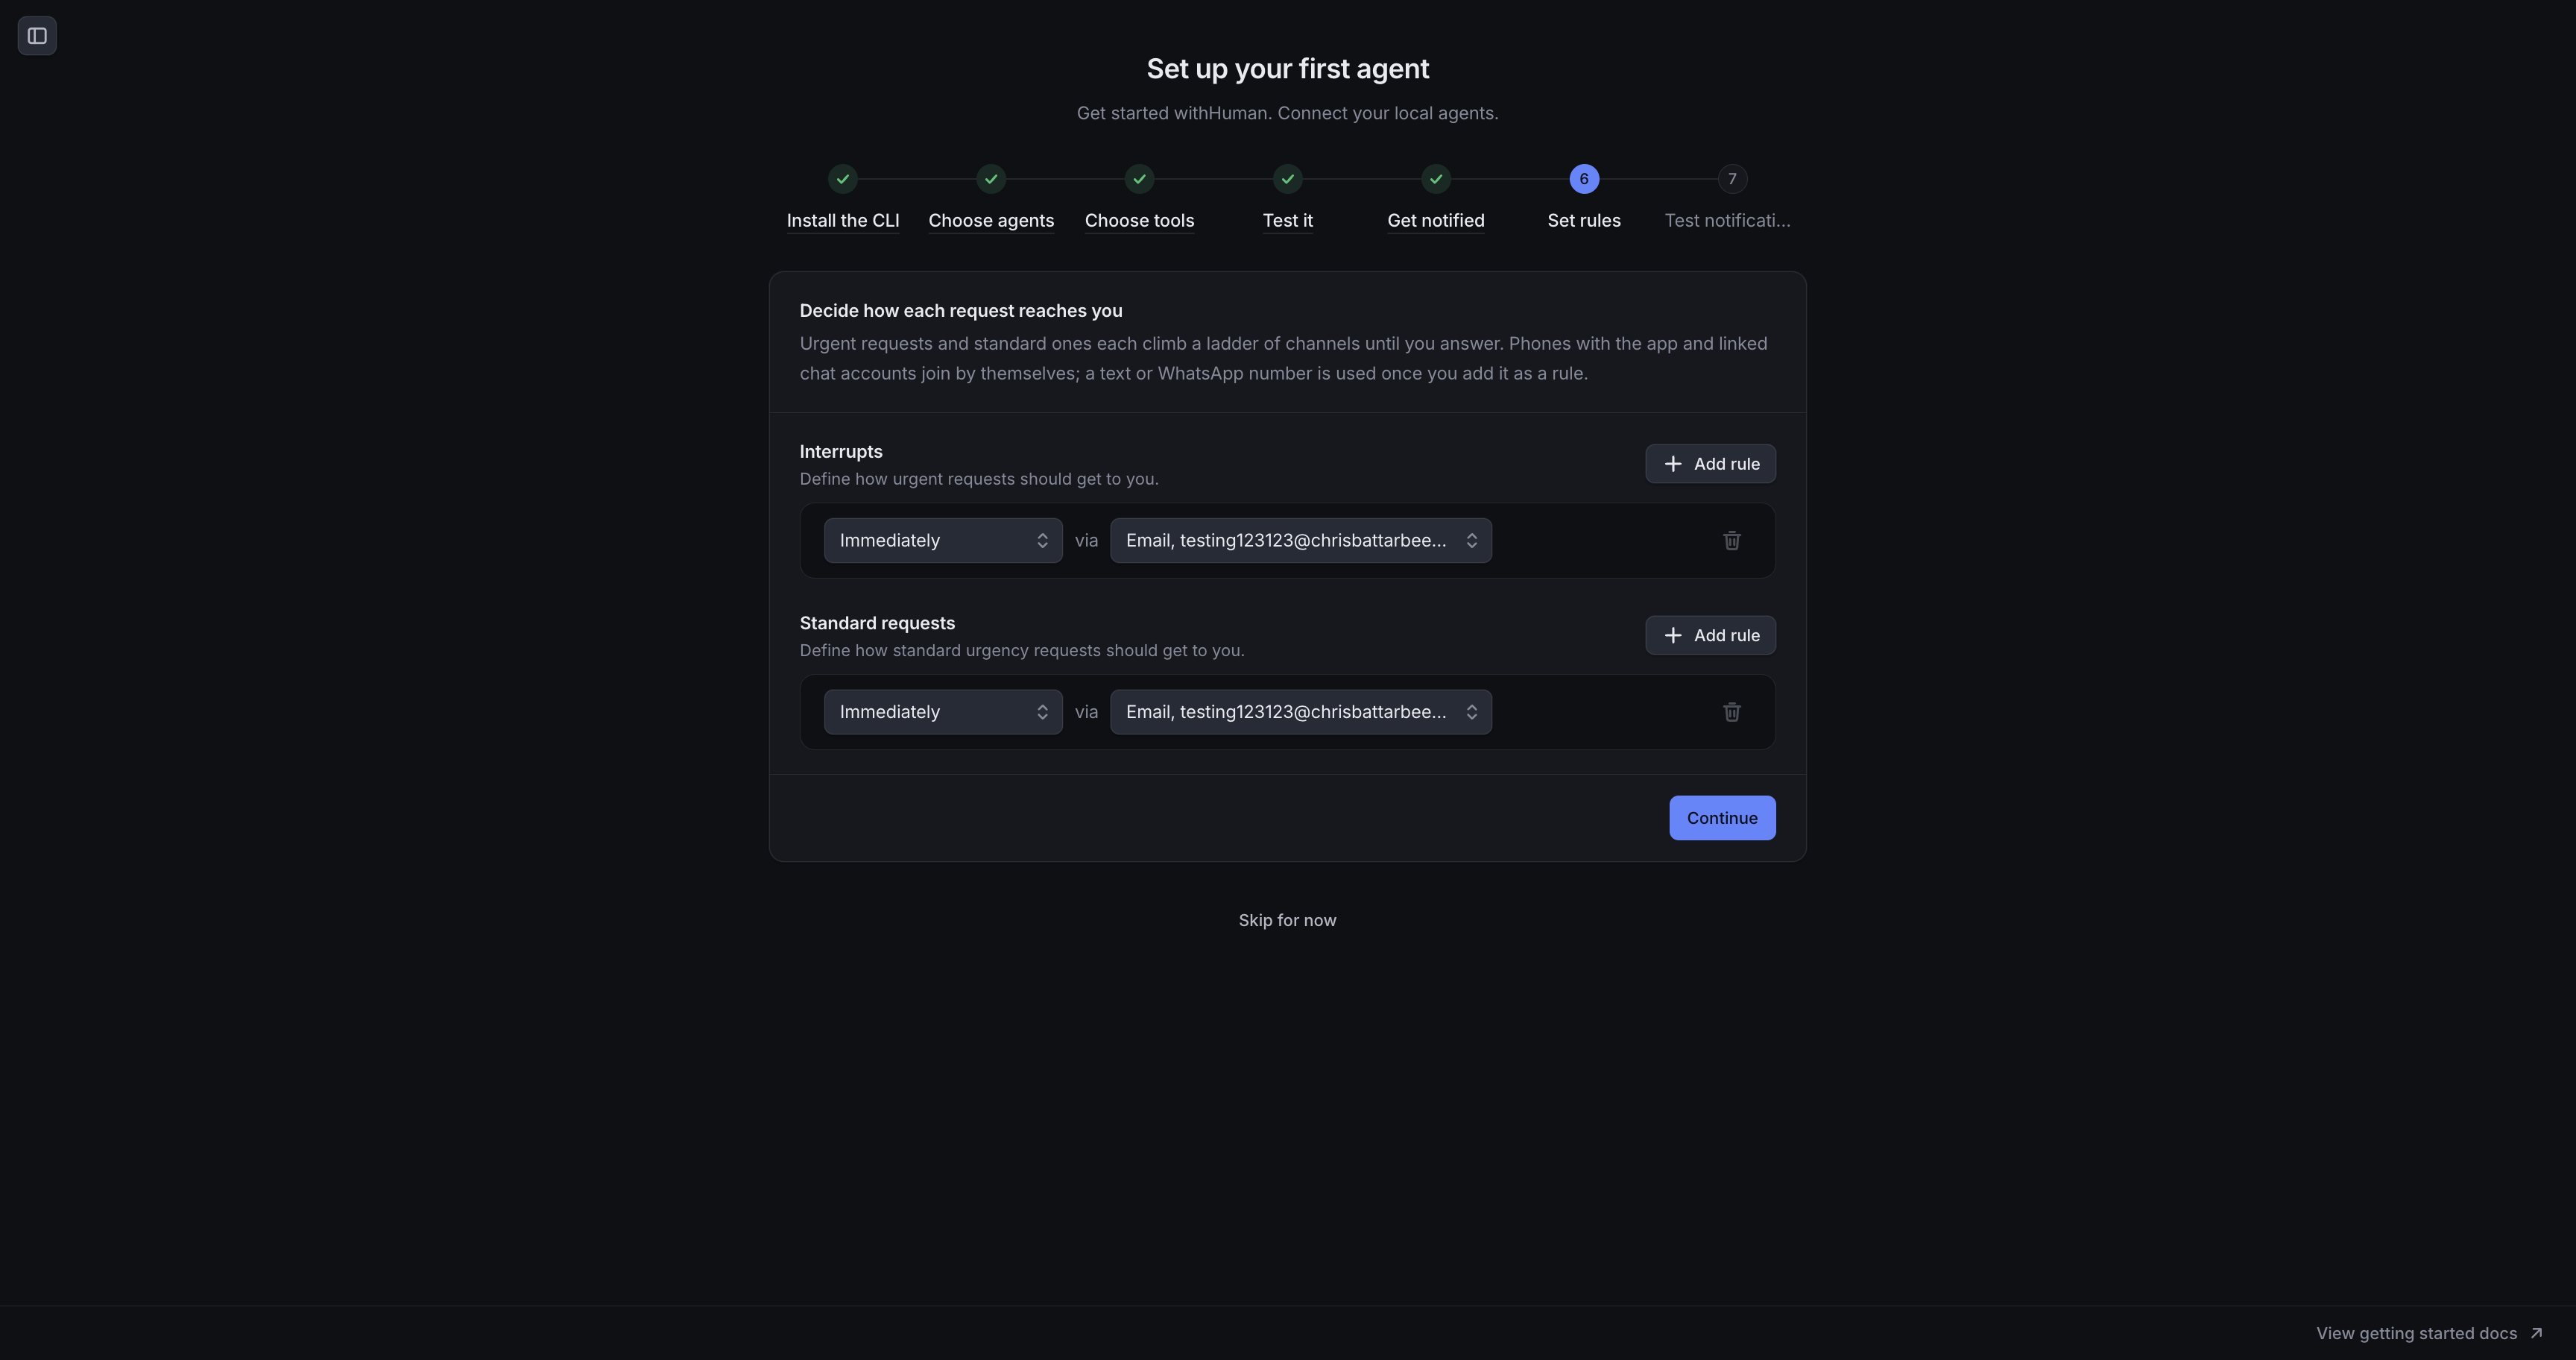
Set rules controls when and where withHuman contacts you. These personal notification rules are separate from the approval rules that decide whether an agent's action can proceed.
Interrupts handles urgent requests. Standard requests handles standard urgency requests. Each list can use a different sequence of channels until you answer.
For each rule, choose When to send a notification and the Method to use. Select Add rule to include another channel or a later reminder. Text message and WhatsApp numbers need a rule before they will be used. Save any changes, then select Continue.
5. Choose tools
Choose tools decides which tool calls wait for your approval. Arriving here connects the agents you chose: withHuman creates each agent, an escalation path to you, and a starting set of rules, and the CLI installs the hooks. While that runs, a line under the question shows the progress; follow any restart or additional setup instructions it shows.
The page asks How would you like to set up your rules? and offers three ways. Until you pick one, the starting rules apply: tools that change things (shell commands, file edits, anything a server marks destructive) wait for you and everything else runs.
- With my coding agent: select Copy prompt and paste it into Claude Code, Codex or another coding agent. The prompt has the agent connect to the withHuman MCP server, ask you what should wait, write the rules for the agents in this setup, and check them on a few sample calls. The page ticks each agent once its rules change.
- Describe it in words: type the answer in your own words, for example "only kubectl commands that change the cluster should wait for my approval", or build a sentence from the suggestions under the box, then select Write the rules for me. The setup assistant writes the rules, checks them against sample calls, and picks the call your test will make. Type another sentence to refine them, or Start over to forget the conversation. This way is part of the hosted edition and needs a judge model configured on the deployment.
- Pick tools myself: each agent's tools appear in a searchable table, ticked when they currently wait for you. Adjust the ticks and select Apply to replace that agent's rules with your list.
Only the agents connected in this setup change. You can change the rules any time in Approval pipelines. Your organization's approval pipeline runs first and can make its own decision.
Select Continue once the hooks are installed.
6. Test it
Test it checks that an agent can send a request, wait for your decision and receive the answer, and that the request reaches you through your chosen channels. The page shows a test command for each agent you connected: the call the assistant chose, or a suggested tool if you kept the starting rules. Where the notifications go lists the channels and timing for this test; test requests have standard urgency, so they use your Standard requests rules.
Run the command shown for your agent in a new terminal on the connected machine. When it makes a call your rules send to you, the agent pauses and the request appears on this page. Check the inbox, phone or chat app named in your rules too, allowing for any delay you configured.
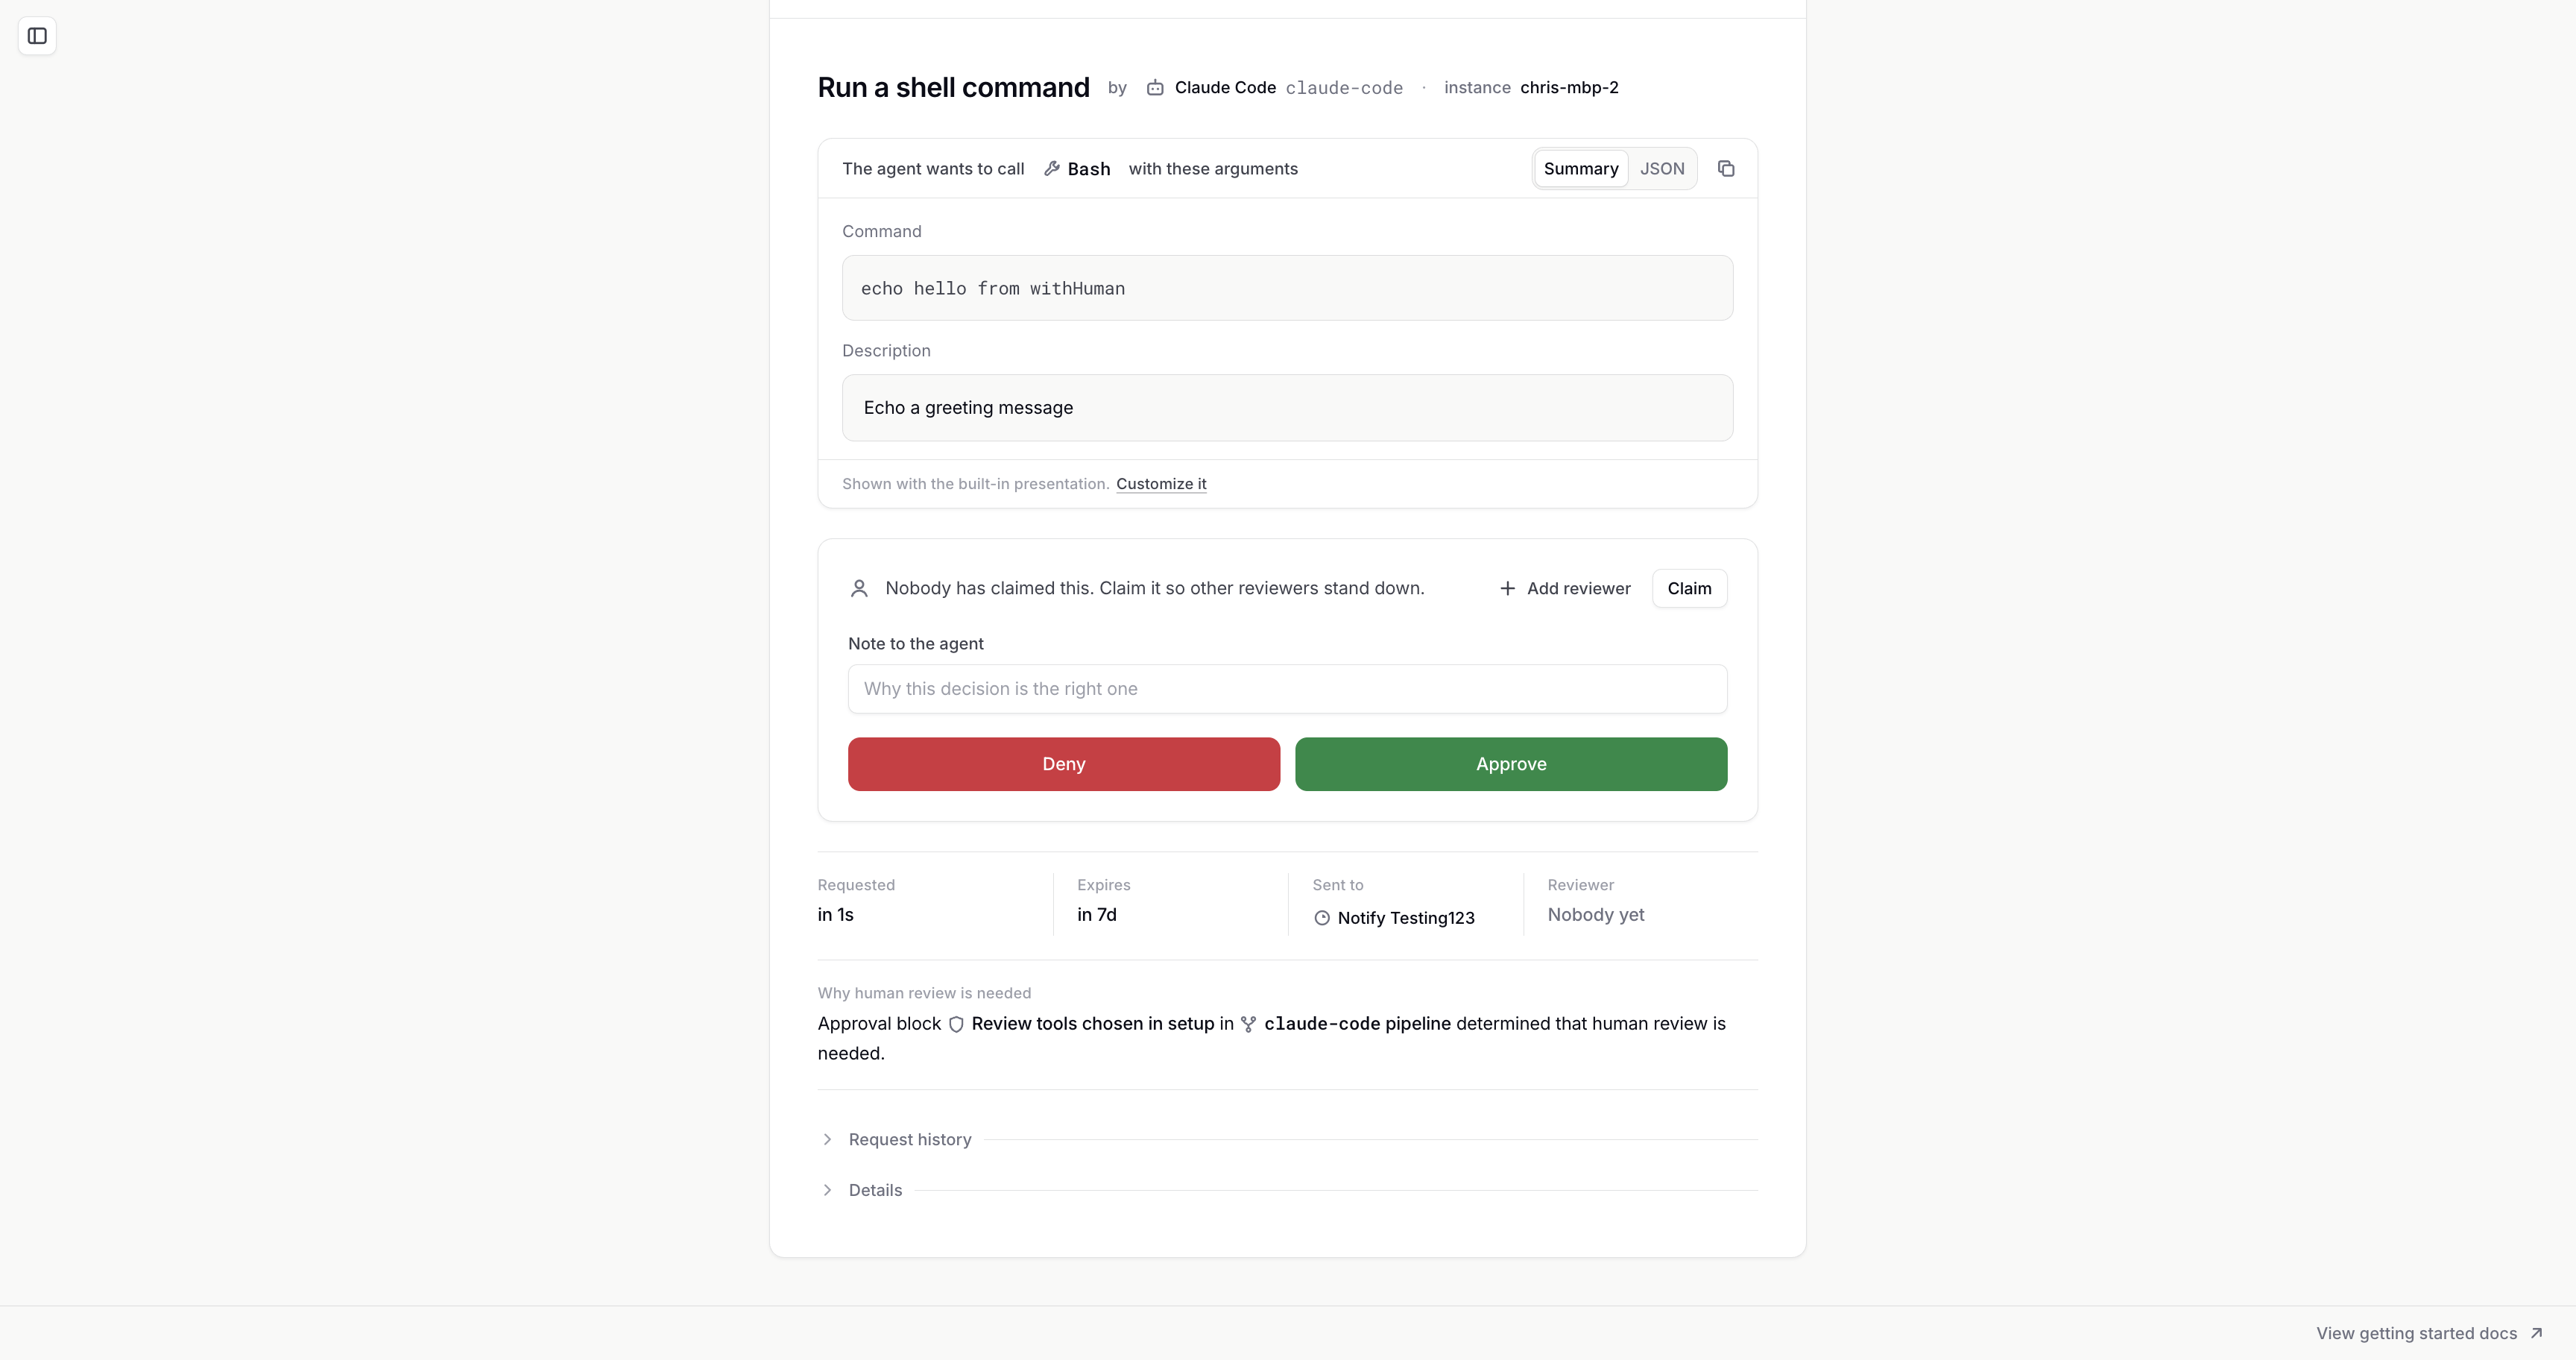
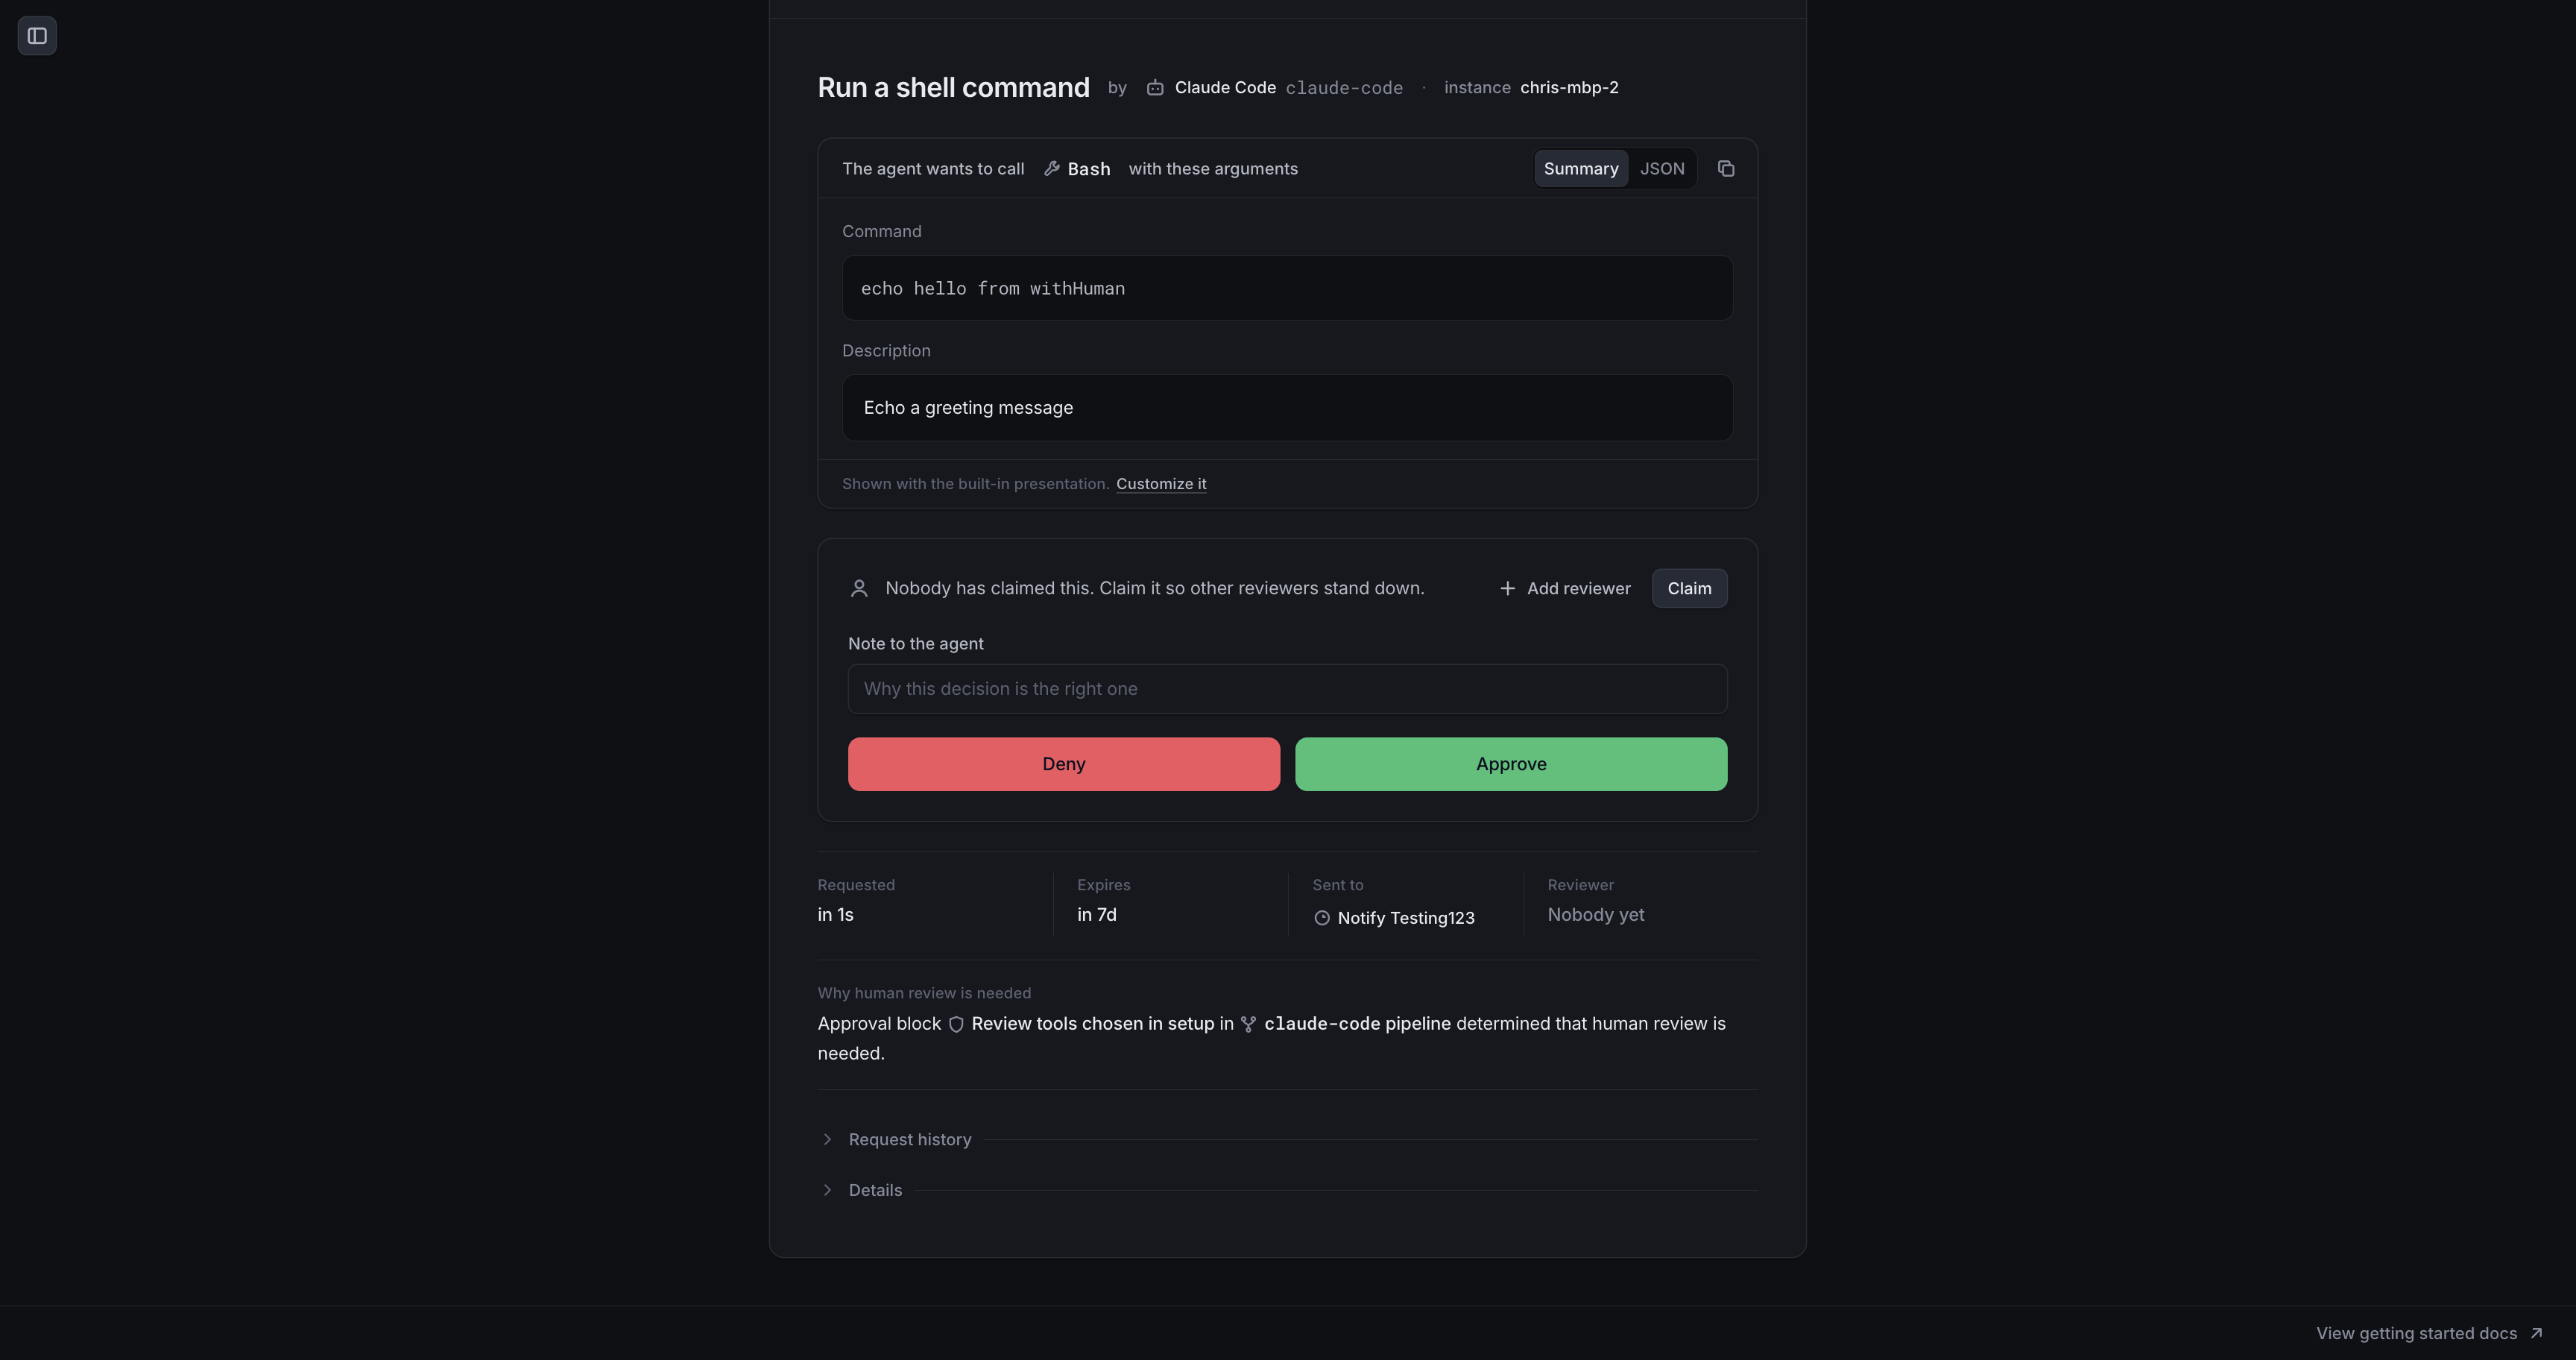
The request shows the agent, tool, arguments and reason human review is needed. Inspect the action, then select Approve to let it proceed or Deny to prevent it. Approval permits an action; the agent's output tells you whether it succeeded.
After your decision, the page shows Loop closed and asks whether the notification reached you. Select Yes, finish if it did. If it did not, select No, check my channels to check your channels and rules, then run the command again.
Your agent is connected
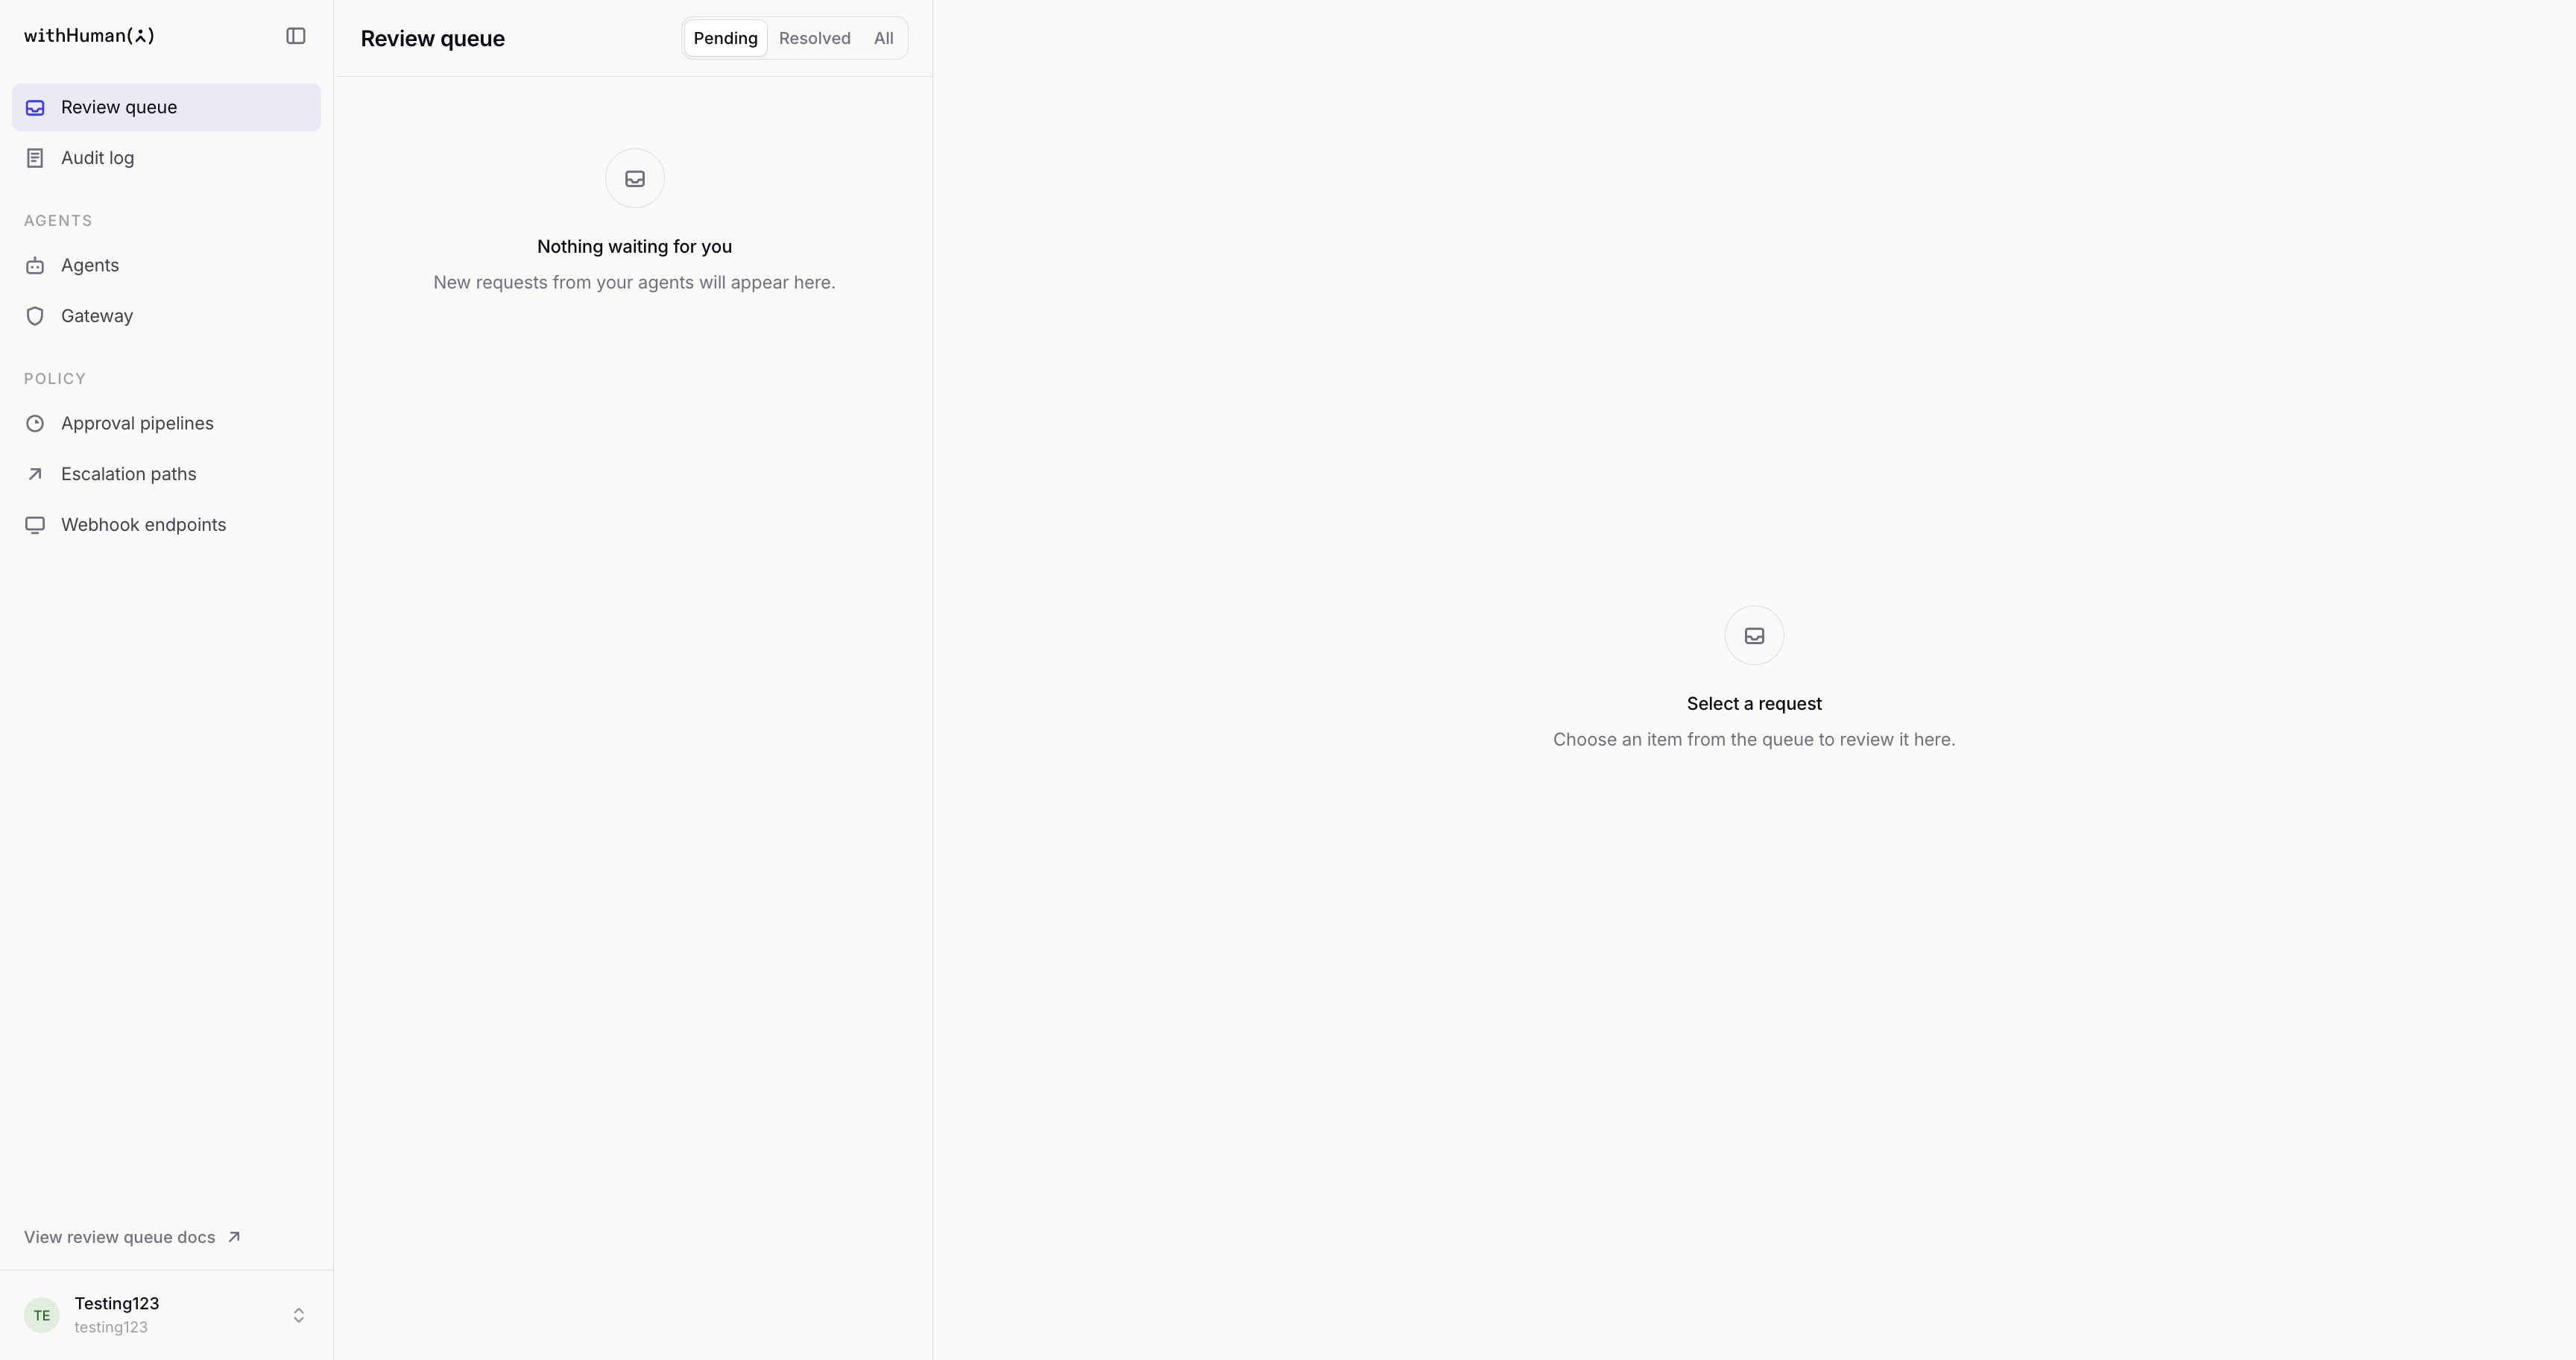
Finishing setup opens Review queue. New requests that need your decision appear here. Open Agents to inspect the agent you connected.
Its Tool Catalogue tab contains the descriptions and argument schemas discovered during setup. You can use these when building rules before a tool's first request. After changing local tool connections, follow the refresh instructions. A discovery warning does not undo your installation; check the named connection and refresh again.
You now have:
- An agent and instance connected from this machine.
- An approval pipeline that sends the calls you described for review.
- An escalation path that routes those requests to you, using your personal notification rules to contact you.
To connect another installation, return to guided setup and run its fresh setup command on that machine. For later updates or removal, see Adapter updates and removal.
Your setup at a glance
Each agent you connected has an instance for this machine and its own approval pipeline.
Loading diagram…
Diagram source
flowchart TD
    instance["Your agent's instance"] -->|Sends a request| pipelines["Approval pipelines"]
    pipelines -->|Human review needed| path["Escalation path"]
    path -->|Routes requests to you| queue["Your review queue"]
    path -->|Contacts you using| rules["Your notification rules"]
    rules --> channels["Your connected channels"]
Your review queue holds requests waiting for your decision. Your notification rules choose how and when to reach you through your connected channels.